When you are riding a mountain bike, one of the most important things about the bike is where you are sitting. An uncomfortable seat is one of the things that can ruin your whole ride and can lead to pulled muscles among other things.
The most important factors in picking up the correct dropper seatpost for your for your mountain bike are the seat post diameter, the cable routing, the stack height, the insertion length & the amount of drop.
Keeping all of these things in mind will help you to pick the perfect dropper seat post for you. This will lead to a comfortable ride no matter where the trails take you. Dropper posts in particular can be a huge help, allowing you to make adjustments to your seat as you ride.
Getting The Right Size
Getting the measurements on your bike should always be the first thing that you do when you are looking to buy a dropper seat post. This will help you know what sizes to look at and will narrow your options down for you.
The Diameter Of The Seat Post
Checking the diameter of your post is the first thing that you should do. The simplest way for you to check the diameter of the seat post is to go online and look at the details of the bike you own or your bike manual if you have one.

Sometimes the seat post that you already have will be marked with the size diameter it is. The most common two sizes are 30.9mm and 31.6mm. This is important since the wrong size will either not even go in or will tend to slide down as you ride. There are other sizes, but those are rarer to find.
The Cable Routing
The next thing that you need to look at is the cable routing. This is if the post is routed internally or externally, with internal being sometimes referred to as stealth and the external being referred to as non-stealth.
Click Here To Learn How To Use A Dropper Seat While Riding
While either option can be hydraulic or cable actuated, you do need to know how it is routed when you are choosing your dropper seat post. Most modern MTBs come with the internal routing ability which is generally preferred since this means that you won’t have to worry about a cable on the outside which might get caught on things or damaged.
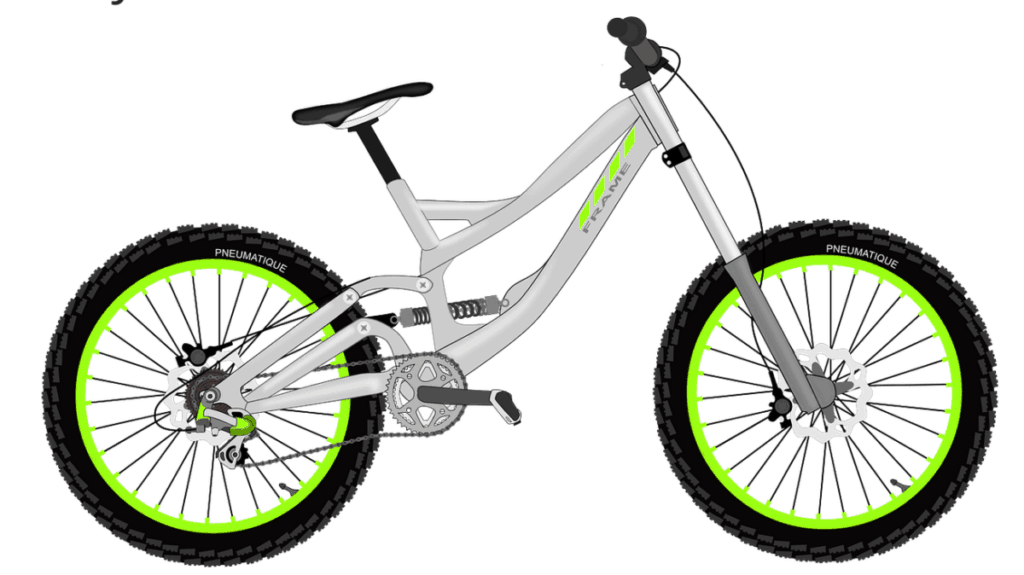
If you are in doubt as to which one your bike is and you cannot seem to find that information anywhere, look at the bike itself. A bike that can be internally routed will have a small hole somewhere in the frame. This can be low down beneath the seat post below where it attaches to the rear tire, or it may continue going through the frame of the bike to come out somewhere near the handles.
Also, if you cannot tell if the dropper seat post you are looking to buy is for external or internal routing, look at the bottom of the post. If it is a post designed for internal routing, then there will be a connection at the bottom.
The Stack Height
Finally, you should also check the stack height for your bike. This will tell you how long the post you choose can be, with some common sizes being 100mm, 125mm, and 160mm. The bigger the bike you have, the bigger your stack height will often be.
The Insertion Length
The insertion length is how far the post will go down into your bike before it is stopped by hitting something. If you can’t find out what your insertion length is, then one option is to borrow a seat post from someone else that is preferably the longest size.

Place this in as far as it will go and measure how far it will go in. This will tell you what your stack height is, or at least give you a good idea. Most of the time there is plenty of room if the seat post tube on your bike goes straight down, however there are some bikes where that tube has a curve to it.
Another thing that you should be aware of when it comes to insertion lengths is the minimum insertion length. Since these seat posts are made to go up and down, they are all marked with a line low down on them that is called the minimum insertion length.
This mark, as you might guess from the name, is the minimum amount of the post that you never want to see. Raising it above that mark is quite dangerous and can cause damage to your seat post if nothing else.
Choosing The Dropper Seat Post For You
After you have the measurements that you must have for the seat post attachments, then the next things that you should take into consideration are the details of the dropper seat post itself. These things will help you to pick the right one that fits your style of riding.
The Amount Of Drop
The first, and perhaps most important thing here is that you have to decide how much drop you want from your post. This is how much “travel” the seat will be able to have up and down. If you are not accustomed to having a dropper seat post at all, then you should consider starting off with one that only has a moderate about of a drop.
Some people prefer having literally as much of a drop as their seats will allow, while many cross country riders like to keep just a small amount. In order to determine which one suits you, think about your riding style.
If you feel that your seat is just in the way at times, then you will likely be more comfortable with a larger drop to get your seat more out of the way. However, on the other hand, if you like your seat and want it to still be there some and just want to be able to lower it, then a smaller drop will be more comfortable for you.
Having a drop ability of about 125mm is perhaps the most common, though there are options that are both higher and lower to choose from. This is about 5” and it is a great option for you to start with.
The Stack Height
The stack height is the next thing that you need to make a decision on. This is what is going to determine how high your seat will be at its highest position. Therefore, it is important that the stack height is not going to be too high or too low for you.
You should be able to pedal without having to fully extend even with your saddle at its highest. On the other hand, your knees should not have to scrunch up even when your saddle is lower. If you are tall and need your seat higher, you will obviously need a longer stack height, but if you are shorter then you will be better suited with a shorter stack height.
To get this measurement from your MTB, you first need to know what height you like your saddle at. Once you have that number, measure from the collar of the seat post to the rails of the saddle, subtracting approximately 50mm in order to allow space for the saddle clamp and the dropper post collar.
Conclusion
All in all, your first goal should be to make sure that the seat post will fit your bike. Your second goal should be to make sure that your seat post fits you. Keeping these two things in mind is the largest step to making sure that you pick the right one.
While a shorter post will not go as far down, it will be lighter and if you are looking to make your bike as light as possible you should keep this in mind. However, a dropper seat post is definitely worth the time for you to learn how to use on your mountain bike.

