Dropper seat posts have not been around a long time, yet many people rant about this useful piece of equipment. Essentially the dropper post was invented to allow you to drop and raise your seat post without having to even get off of your bike.
In order to use a dropper seat while you are riding, you must have your dropper seat set up properly. This is usually done by using a button that is usually placed on the left handlebar for ease of access. By pressing this button you control whether you want to go up or down.
One of the most important advantages of raising or lowering your seat post is that it allows you to change your center of gravity. This can be very useful for different sections of the trails, especially for those steep uphill and downhill sections and it is definitely something you should get for your bike to get the most out of your rides.
Make Sure You Have Your Dropper Seat Set Right
The very first thing that you should do is make sure that you have the right dropper seat post. This is a vital part of learning how to use a dropper seat correctly and will also give you the best effects when you are using it for your rides.
For example, if your seat post is not the right diameter than your seat might very well keep sliding down on you. You also must make sure that you have it set so that at its highest setting it is not too high for you or too low at its lowest setting if possible.
While you do not have to have your seat at its highest setting if it is too high for you, this will limit the amount that you can drop down. One of the things that you want is plenty of range for you to make adjustments with.
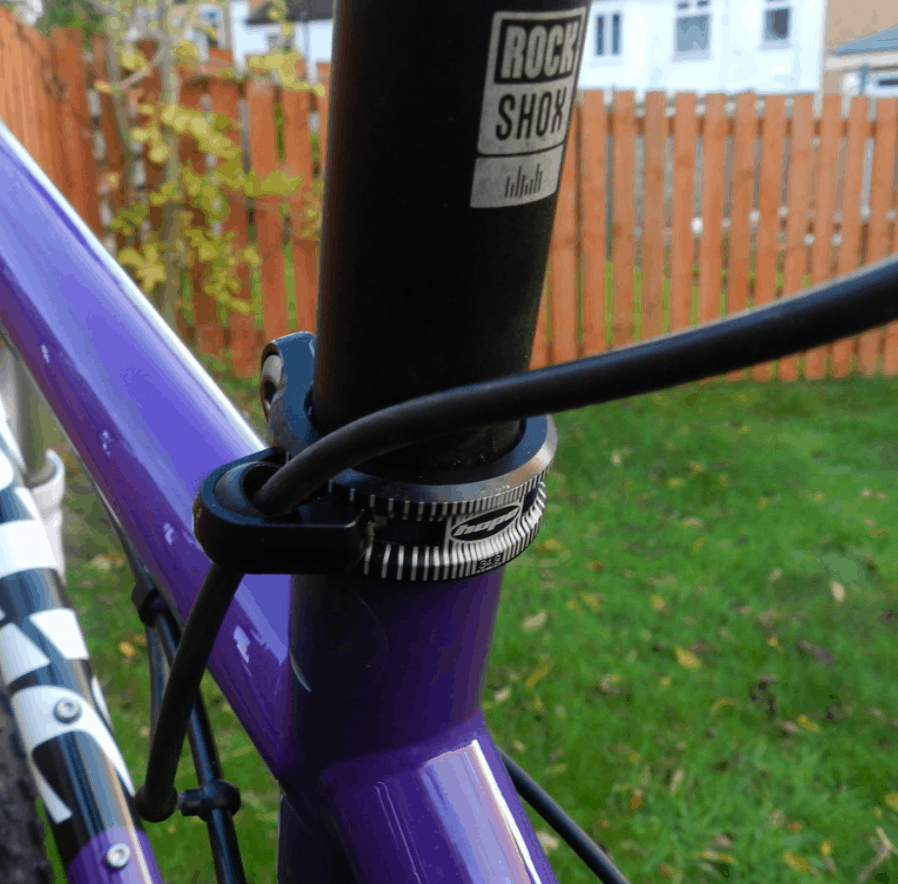
Once you have the right dropper seat, you also want to make sure that it is set up correctly on your mountain bike. There are both internal and external routing options, with the internal options being more common.
The internal routing is also called stealth and the cabling is inside the tube of the bike. This makes it harder to install but it looks better and you do not have to worry about the cable catching on anything. Then there is also cable actuated versus the hydraulic systems to choose from, either one of which has to be set up properly.
While you can often connect everything yourself to install your dropper seat, if you are not good with your hands or used to doing things on your bike yourself, then you may wish to have someone else install this. Make sure that you read the manual and follow the instructions closely to avoid making any mistakes.
Finally, make sure that the button or lever is within easy reach. While you want it to be comfortable to touch, you also want to make sure that it is placed so that it is not somewhere where you might touch it accidentally.
Practice And Find Your Comfort Zones
Most setups have either a lever, knob, or button of some kind that you can push in order to raise and lower your seat. This means that it is really simple to use and works much like the different speed settings on your bike. Using it efficiently, like with different speeds, is something that will take practice.
Keep in mind that each person will have their own comfort zones. Some people like to drop their saddle down far enough to be out of the way entirely, while others like to still have it there in case they need to sit suddenly for any reason.
This being the case, when you are first learning how to use a dropper seat post you will have to experiment some in order to find out what the most comfortable setting for you is for each type of terrain that you ride on. This will take time for you to do, but it is well worth the effort.
When To Lower The Saddle
When you are riding your MTB and you hit a steep downhill section you will have better balance if your center of gravity is lower. Therefore, you will want to lower your sadly for these sections of the trail. The same is true for those steep corners where you can feel the saddle pressing up against the inside of your leg.
Lowering the saddle will help to get the saddle out of your way which will spare the inside of your leg from being rubbed by the saddle, particularly if the trail happens to be bumpy or rocky there. This will also help with your gravity since you will be able to lean into your turn more without your saddle being in the way to prevent you from doing so.
You can also choose to lower your saddle if you are going over really bumpy sections of the trail, especially if you are the sort of person who would rather stand slightly to take the bumps with your legs instead of sitting during the bumpy sections and absorbing the shocks with your spine.
Finally, the last place that you should always lower your saddle is when you come to a stop. This way your feet will more easily reach the ground without any problems. You should lower your bike so that you can touch both feet flat to the ground while still being in your seat.
When To Raise The Saddle
The two most notable reasons that you should raise your saddle height is if you are going over smooth terrain and if you are going uphill. If you have the right dropper seat then you should be able to get into your power pedaling position with your legs and raise the saddle so that you are able to sit while you are doing it.
This can help you to power pedal much better whether you are trying to get a good start going uphill or you are just trying to pick up some speed. Part of the reason why this is helpful is because you will not have to have all of your weight on your legs.
The less weight on your legs, the longer you will often be able to keep pumping them and the more speed you should be able to pick up. Sometimes it is nice to use your weight down on your legs to power pedal, but having the saddle right there can still be helpful and let you take short breaks without having to get out of and back into position.
As mentioned, this should be the highest position that your seat will go into, but your legs should not be overextending or you could pull a muscle. Generally speaking, you will be keeping your saddle set to just a little lower than the highest setting when you are going at an easy pace over the normal sections of the trail.
Conclusion
As you might have guessed by now, if you are using your dropper seat correctly while you are riding then you will be making a lot of adjustments as you are on the trail. While this might seem to be tedious, it is really helpful to get the most out of your ride.
This will not only help you to be more comfortable, but it will help you to ride faster, last longer, and be safer. This is because being able to alter your center of gravity to match the terrain that you are going through can be a huge help in avoiding accidental flips on your bike.
While dropper seats are an awesome upgrade that you can install on your bike if you do not already have them, they do come with a couple of disadvantages. These are that they cost more and that they have more parts to them that require a little more care. However, dropper seats are well worth it.