Perhaps when you hear the phrase mountain bike travel you picture to yourself packing a bike bag, getting on your bike, and traveling to some place that is new and exciting. But actually this is not what mountain bike travel really means at all, not even close.
Mountain bike travel refers to the suspensions of the bike and how much they can “travel” which is the distance that they can move up and down as you hit the bumps in your path. This travel distance tends to be different when it comes to the front suspension vs the rear suspension.
There are a lot of different things that can affect the travel of the suspensions on your mountain bike, some of which can be deliberately changed by a couple of settings that are found on most suspensions. There is also an ideal range that you should keep your travel at based on a variety of different factors that are unique to you.
What Is The Range Of Travel In A Mountain Bike?
The travel on a mountain bike is most often measured in millimeters and can range anywhere from 80mm to over 220mm. Some of this depends on what kind of mountain biking the suspension is made for, with the bikes that are made for the smoother trails naturally having less in terms of travel since you will not need as much.
Regular trail mountain bikes usually have suspensions in the 80-120mm range. However, for things like downhill racing you can easily find a number of options that are well over the 180mm range. Enduro mountain biking falls somewhere in between these two extremes and usually has around 140-160mm of travel to its suspensions.
How Much Travel Do You Want On Your Mountain Bike?
As you have likely already figured out from reading the previous section, the kind of mountain biking that you are doing will affect how much suspension that you want to have. As a general rule, the smoother the trails are that you will be riding on, the less suspension you will want to have. If you are going to be riding your mountain bike on the road to commute to or from work, you may not want it to have any suspension at all unless you know that there are potholes along your route that you will likely be hitting.
How much travel you should have with your suspensions can easily be summed up by two different factors: the terrain, and the style that you ride with. The terrain is obvious and can vary widely based on the trail you will be biking on, with a simple cross country trails being very different from a difficult downhill trail.
Your style, on the other hand, is completely dependent on you. If you charge down the trails, no matter how rough they are, and don’t care the slightest bit about picking what line might be the smoothest, then you will need to have more travel and therefore bigger suspensions compared to someone else who takes those trails at a more moderate pace and carefully picks their line of travel on the path.
One of the things that you will want to take into consideration is that a bike suspension that offers more travel to it is not only going to be bigger in size, but it will also be heaver. This being the case, you do not really want to get a suspension for your mountain bike that has more travel than what you need it to have. This means that if the trails you are going to be mountain biking on are going to have a lot of uphill climbs you will want your suspension to be lighter and therefore have less travel to it so that it is easier to climb up those hills with your bike.
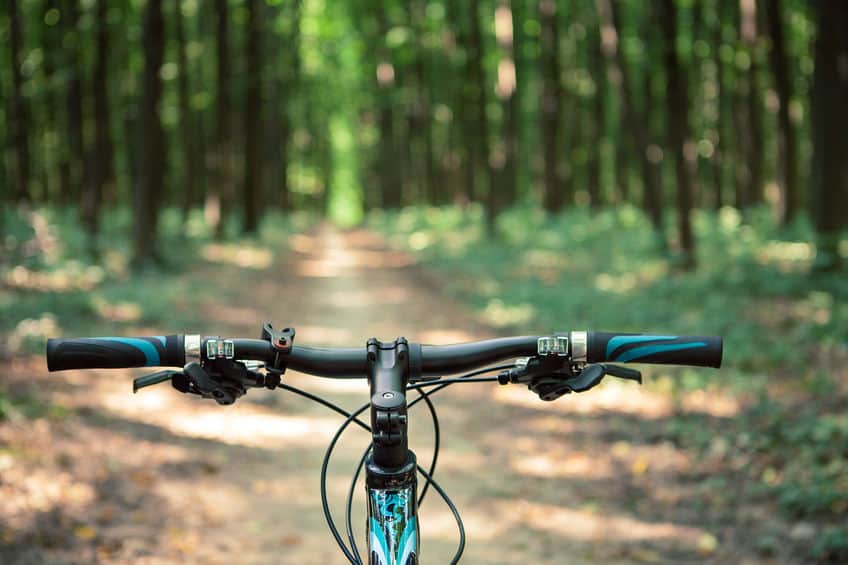
Not only does the amount of suspension affect the size and the weight, it also affects the length. This changes the position of the handlebars and tilts them further back when there is more suspension. While this is a great feature for downhill riding, if you are biking on the simpler cross country trails it is not only unnecessary but can also be uncomfortable for your hands and arms to be at that angle.
Another factor that you will want to consider when it comes to choosing how much travel that you want is to try to keep things close to even. What I mean by this is that you do not want to have a hardtail mountain bike that has no suspension in the back and a suspension that has 180mm travel or more in the front.
Why not? Well just imagine for a moment that you land at the end of a hard jump on this, now your front handlebars are going to be inches lower. If you are at a downhill angle at all this will be worse and will very likely throw you forward and possible over the handlebars – something that I don’t thing would end very well.
So to avoid this from possibly happening, you don’t want there to be too much of a difference in the travel in the front and the travel in the back on your mountain bike. This is why you can usually find more hardtail bikes that have only a small to moderate amount of travel in the front and, as you add more travel to the front, most mountain bikes have full suspensions.
Just in case you are confused, let me clarify: it is perfectly fine and even preferred to have a little more suspension in the front than in the back, just don’t go overboard with it. A 100mm suspension will travel about 4” so you likely do not want to have much more difference than that between the front and the back.
Another factor that you should consider when trying to decide the amount of suspension that you want is the size of your tires. Larger tires are known to be able to absorb some of the impact from the trail, therefore you should need a little less suspension when riding with them compared to what you would need if you are riding on a mountain bike with smaller tires.
As a general rule, start by looking at the range of the suspensions on the mountain bikes in the mountain biking discipline that most closely resembles your own biking style and the type of trails that you are riding on. If you are know you are an aggressive biker and that you will want to go down tougher trails, then you should go with suspensions that are at the higher end of the range you see.
If you are the easier rider who takes things slow, then you should be able to go with suspensions that are at the lower end of the range. However, if you have no idea where you fit when it comes to your riding style, try to hit the range somewhere in the middle. These ranges are around 80-120mm for simple trail biking; 140-160mm for Enduro biking; and over 180mm for downhill racing style mountain biking.
About The Different Suspensions
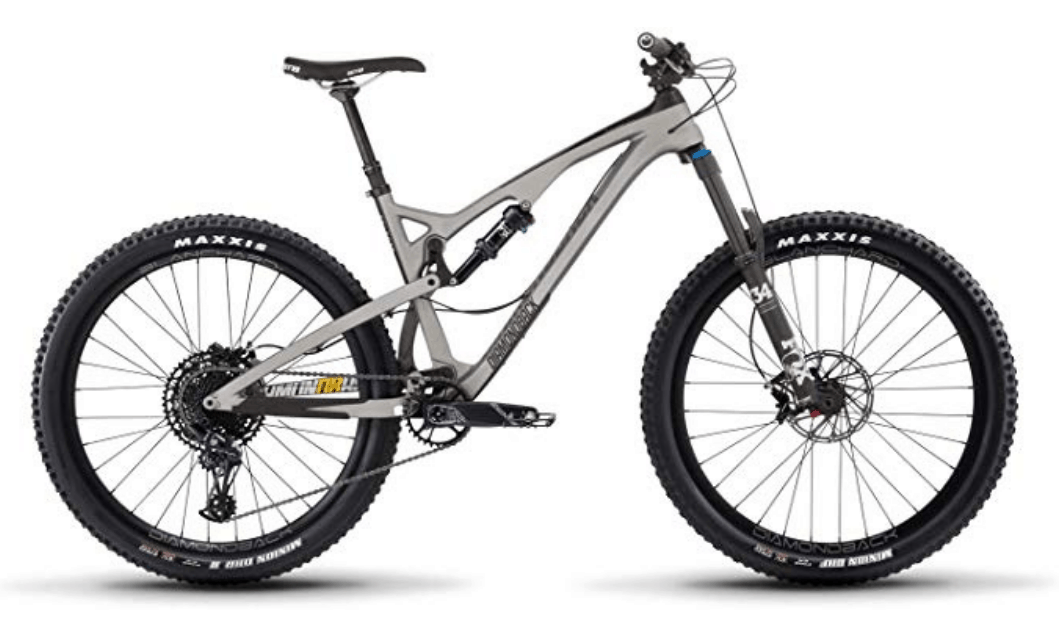
While it is a fairly obvious fact that the suspension on the front tire of a mountain bike is completely different from the suspension on the back tire of it, perhaps you don’t realize just how different these are. While there is mostly one common form of front suspension, there are around three different main designs for how the back suspension can be built.
There are a number of different technical terms that go along with telling about the different suspensions, so before I go any further let me explain what a few of them mean. A fork is what goes to both sides of your front tire and attaches this to the stem of your handlebars. While there are such things as rigid forks that have no suspension to them, for the purpose of this article I will not be talking about those and most of the time when someone simply refers to the fork they are taking about one with suspension.
A shock can refer to two things, usually however it refers to the rear suspension. The other thing that it can refer to is the compression chambers in the front fork which is the part that absorbs the impacts or “shocks” in the trail you are biking on.
A pivot is a connection that allows for rotation, like the hinges on a door frame could be called pivots since they allow the door to rotate open or closed. The linkage is the name for the piece of frame that is between the pivots.
You should already know by now what travel means, but another term that refers to the travel and is less common is stiction. Stiction is a shortened term for static friction and is what happens when the seals on a shock, that are there to keep the dust and dirt out of the shock, feel sticky and cause the suspension to move rather jerkily and not smoothly slide in and out. This mostly affects the travel when the suspension is new or when it has just been cleaned.
The last term that I will define is called the damping. The damping is a feature that can often be changed around and it is what affects the rate of movement and how much pressure it takes in order to affect the travel of the bike.
The front suspension has been around for the longest and is most commonly found in what is called a suspension fork. However, there is another option for the front suspension that is much less common but still proven to work. This second option is most often referred to as a “lefty” front suspension due to the fact that, instead of forking to be on both sides of the front wheel, it stays together and goes solely to the left side of the wheel and does not go on the right side of the wheel at all.
One of the reasons behind using a fork design is that it allows your front suspension to have two compression chambers. These chambers usually employ one of two methods in order to achieve the same effect. These two different methods involve either compressing a spring or coil or it instead features compressed air.
Since air does not have any weight, the kinds of suspensions that use compressed air tend to be lighter in weight. They are also easy to tune by simply adding air in or letting some out, and they naturally get stiffer the further down they go so that they are less likely to bottom out.
Coil spring suspension systems may be heavier, but they can often be much more responsive. They also do not gradually stay stiffer and stiffer over the course of a long, rough patch of trail like a compressed air suspension is capable of doing.
When it comes specifically to the suspension fork as a whole, however, this has a number of different parts, each of which has its own name. Starting at the wheel, the dropouts are the part that attach to both sides of the center of the wheel. Above that is the disc brake mount on one side for if you have a disc brake setup, while above that on both sides is the rim brake mounts if you have that kind of brake instead.
Just a little higher is the brace that acts as a bridge between the two sides of the fork and which also helps to stabilize it. The brace also connects the lower part of the sliders on either side, which is what the stanchions above the brace slide down into. These stanchions are connected at the top with what is called the crown, above which is the steerer tube which connects the fork to the rest of the frame.
When it comes to the rear suspensions, as mentioned, there are three basic categories that rear suspensions call fall into. The first one of these is called a single pivot design. This kind of rear suspension is the simplest option and therefore is often the cheapest and sometimes the lightest. Here the rear shock is connected to bar that goes vertically up from the pedals to the seat and forms a sheath around the bar.
Here there is the one pivot that lets it travel as well as a small piece that often connects it to the lower of the horizontal bars. A single pivot design is simple and lightweight, but this option also stands more chances of bottoming out.
The next option is called a linkage-driven single pivot. At first glance it looks very similar to a simple pivot design, however instead of forming a sheath around the bar for its pivot, this option simply goes around the bar somehow to the other side where the shock forms what looks to be its own vertical bar on the other side. For this reason it is sometimes referred to as a “faux bar” design.
After this is the horst-link suspension system which is also called a four-bar suspension sometimes, and which can also be put into the same category as twin-link pivot suspensions. These look far more complicated oftentimes than the above options. Basically the rear triangle that holds the back wheel is completely rigid.
In order to let it move it has two main points at which it pivots. One of these is where this triangle connects to the pedals, the other one is at the top of the triangle which is placed on either side of the vertical seat bar. At the top pivot point there is also a bar that goes horizontally in between the other two horizontal bars that a bike always has and which attaches to either one of them. This can sometimes make it look like a single pivot suspension, but in this case there is an actual bar and not a faux bar.
While these are the main three different categories, there are a number of variations of each with some specialized new designs for these almost always being tested out. However, most of the ones that you see will likely be one of the kinds that I mentioned.
No matter which one of these kinds of rear suspension you have on your mountain bike, most of them work in essentially the same way – after all, they are all trying to accomplish the same goal. The rear shock of a mountain bike is usually made of a single compression chamber instead of the two compression chambers that the front suspension usually uses.
This shock can be placed either vertically or horizontally depending on the design that is used for the suspension and this shock can be interchangeable as long as you get a shock that has the right size eyelet to fit into the spot correctly.