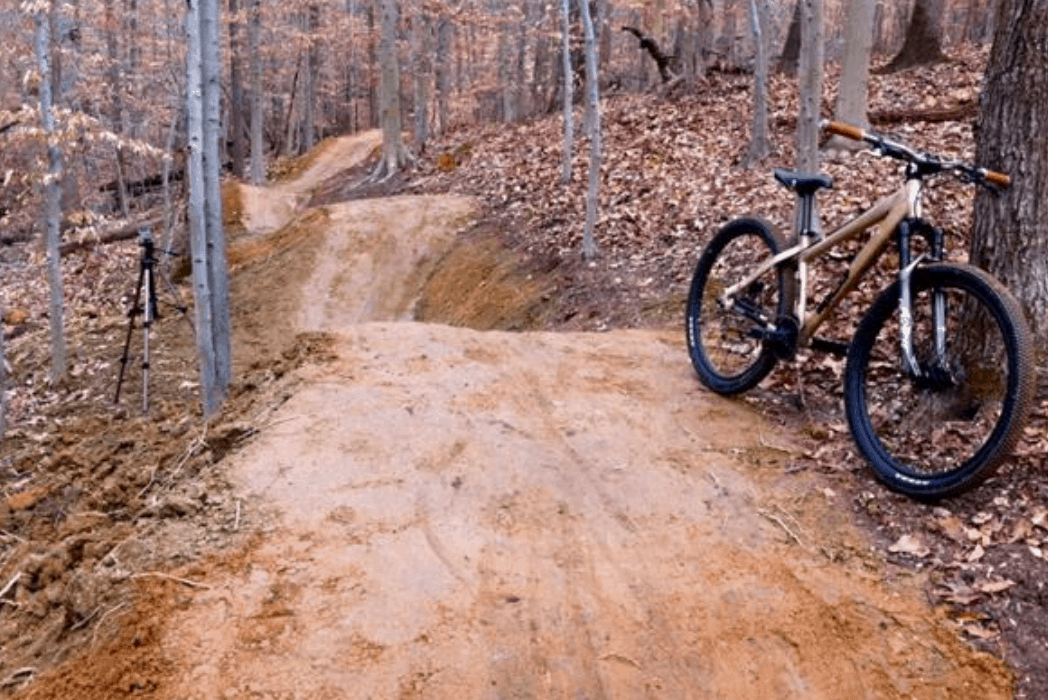
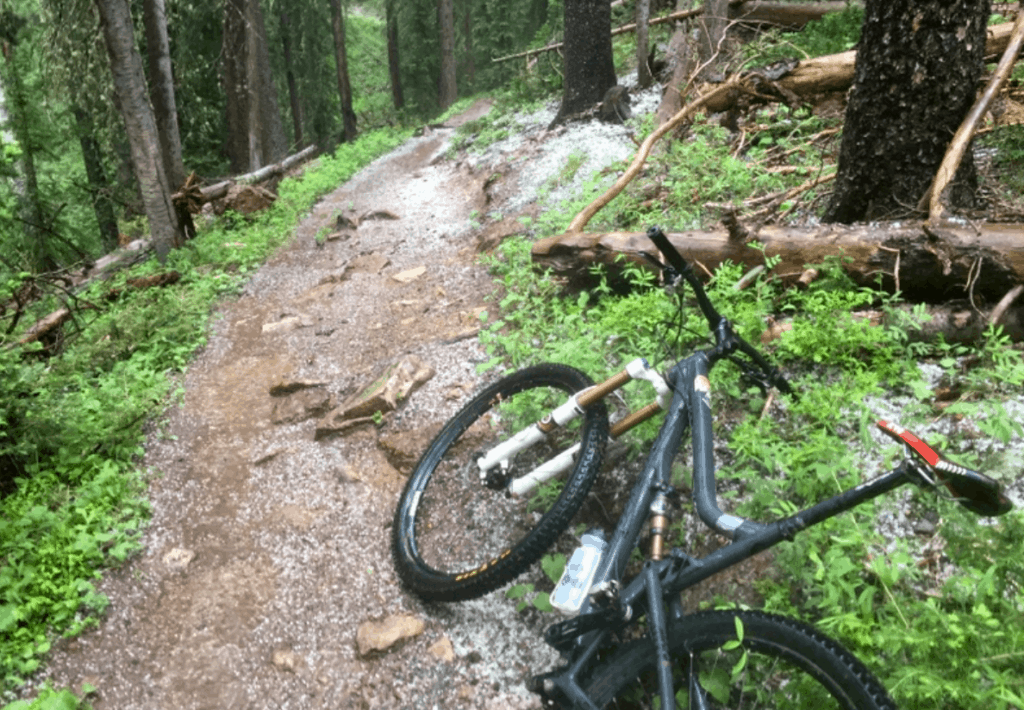
If you have even heard about mountain biking, and even more so if you have actually done any of it yourself, then you are at least vaguely familiar with what a flat is when you are mountain biking. Depending on what caused the flat, where it is, and how big it is, a flat is most often described as puncture of either the tube or tire which usually results in the considerable loss of air in the tire or tube.
It is important to bear in mind that there are several types and as well as various causes of flats which I will explain in moment. What is the same with all of them, however is that a flat tire can completely ruin a mountain bike. It remains unusable as long as the flat tire remains unfixed, or, if you do decide to ride your bike anyway, you will ruin the rims of your wheel and then you will have to buy and replace those as well as the tire.
Having a flat can be frustrating, especially when you are in the middle of a trail and far from your car. It could even happen in a race, an expedition or adventure, or even when you are using it for transportation. Unfortunately, for mountain bikers, experiencing a flat tire is inevitable as long as you remain a lover of the sport.

Although flats are entirely unavoidable, you can try as much as possible to reduce their occurrence. Some things might require you to improve on your riding skills and techniques, avoid some mountain routes or trails, and for you to change some components such as tires and also to learn some necessary mountain bike repair skills.
Why You Should Know About Flats and How to Fix Them
As a mountain biker, knowing about what flats shouldn’t be your priority alone. Instead, you should also strive to understand how they happen and how to fix to these unexpected problems. There are a number of reasons why this information is important.
The first of these reasons is that knowing how to do a quick fix to a flat tire can be a lifesaving act. Imagine getting stuck somewhere in the mountains and the middle of a forest, perhaps one that you know has bears in it, and you bring out your phone only to discover that the battery is dead or that there is no network coverage.
At that moment, your only saving grace could be your tool bag and your knowledge of fixing flats to get you back on your bike as quickly as possible and back on the trails. Just as important as fixing it in this situation is what causes the flat so that you might could avoid some of those things in order to avoid getting the flat in the first place.
Having this knowledge could also create an opportunity for you to save some money. Few flat tires means that you have to buy new ones less often and it also means that your get the most out of your money when it comes to how long they will last because you are repairing them correctly.
Finally, it also saves time. Knowing how to fix a flat tire when mountain biking can save you a lot of time, which could have been wasted trying to find or wait for someone to help you. If you don’t know what you are doing then there is also the very strong possibility that you could damage your tire by doing something wrong.
What Are The Various Types Of Flats In Mountain Biking?
As mentioned, flat tires happen when the tube gets damaged, or the tire itself in the case of tubeless tires, but in most cases having a flat tire does not render the tire or tube useless. If the hole is stopped up so that it does not leak air anymore then the tire or tube could be used still if the puncture is taken care of.
The different types of flat tires are categorized in the following four groups: slow leaks, pinch cuts or pinch flats, punctures, and blowouts. Before we proceed with the solution to each of these categories of flats, it is very important to have certain tools ready for use. The good thing is that most of these tools can serve when fixing any of the categories of flats.
- An adjustable wrench: get an adjustable wrench. The device will be helpful when disconnecting the tire from the bike.
- Allen keys: although optional for some mountain bikes, it could be useful when slacking the brake shoes before removing the affected tire.
- Tire removal bars: these are a set of flat bars with smooth and curved ends. These bars ensure the easy removal of tires without damaging the tires which is very important if you want to still be able to use the tire again. You might improvise with a similar bar, but care must be taken when selecting an alternative tool to avoid doing more harm than good.
- Quick patch kit: the quick patch tool, is a very vital and useful tool for every mountain biker. A quick patch will be needed to close or seal the hole or puncture when identified.
- Sealant or adhesives: a sealant can be applied on the hole or puncture before covering it with the quick patch. Adding a sealant provides an additional level of seal and protection to the hole.
- Water: you might need this to wash the puncture area off to clean any dirt away from the hole before you can patch it up.
- A pair of pliers: this can be useful when removing any foreign object on the tire if that is the cause of the puncture.
- A small rubber head hammer: though optional, it can work with the bar to help you get the tire off to fix it.
- At least two pieces of rag: to ensure a clean job, you will need a rag.
- A highlighter pen or a permanent marker: will be used to mark the puncture spot or hole when discovered.
- Pressure gauge: preferable, you can go for a portable digital gauge for mountain bikes. The gauge will be handy when inflating the tire back up so that it is the right psi.
- A portable hand pump: a pump is an essential tool. It will be used to inflate the tire after the repairs must have been carried out.
Gathering all these tools might be difficult, particularly when you experience such a problem in the middle of nowhere or far away from home. Trust me; the human instincts have a way of improvising when the needed is not available. I would recommend you carry along some of these tools, especially the portable ones, as you embark on your biking adventures. By so doing, you have little or nothing to worry about when the leaks set in.
Slow Leaks
The slow leaks are termed slow for a peculiar reason. If your bike has a slow leak problem, it might be difficult for you to notice at first. You can even ride on it for quite a while sometimes before the air in the tire completely leaks out. This kind of leaks is usually due to some hard to spot tiny holes on the tube.
These small holes are often caused by things like cactus spines on the trail. On the other hand, slow leaks could be due to a loose valve, which can be easily fixed by just properly securing the valve in place.
Slow leaks should not be confused for a normal loss in tire pressure due to atmospheric conditions and factors. For this reason you should be careful when you are trying to figure out the cause of the tire deflation.
In most cases, the leak rate can be very slow, especially when the bike is at rest. But the leak rate increases some when you are riding on it. The reason is that your weight exerts pressure on the tires when riding, thereby increasing the discharge rate of the air. As the air level continually drops, it will get to a point when pedaling becomes more difficult because of the deflated tires.
How To Spot And Fix Slow Leaks
Although the causes of slow leaks might be tiny holes, if left unchecked, they can grow bigger and therefore worse with time, so the best time to fix it is as soon as you notice it. To spot and fix the slow leak problem there are a few things that you should do.
First, get off of the bike if you are on it and turn around the bike to where it is upside down so that it is standing on the bar and the saddle with the wheels in the air where you can get to them better. Then you can open the valve cover is there is any.
Then carefully loosen the valve and discharge the remaining air in the tire by pressing down the valve. Releasing the air will allow to get the tire and tube off of the wheel much easier. Now, using the tire removal bar, slowly and carefully remove the tire.
Try as much as possible not to cause any form of physical damage to the tire or tube the removal, especially not to the bead of the tire since if this gets a kink in it then it will have a harder time sealing on it like it needs to if it is a tubeless tire.
If you cannot tell where the air is coming out of and you have a tubed tire, try to inflate the removed tube with the portable hand pump and then tighten the valve. Then pour some water over it and watch for water bubbles. The formation of water bubbles is an indication of a hole or puncture there.
Also, pay close attention to the valve to determine if there is also leak from the valve area. At this point, you should discover the hole or puncture, if not continue adding a little more water or pressing on various parts of tube as hard as you can.
In a rare situation where the holes can’t be found, you should consider changing your tube. In the case of tubeless tires, finding the holes is not as important and your main focus should be to add some sealant into the tire and spin it around after inflating it so that it seals the holes.
Once the hole is found on the tube, quickly use the highlighter pen to make a mark on the spot, then dry the water on the tube to prepare it for the next step. Now gently apply the sealant and use your fingers to spread the sealant all over the puncture spot and then quickly cover the puncture spot using the quick patch kit.
Wrap the now closed puncture spot to remove any excess anything and apply a small amount to help the quick patch kit to get a good seal over the hole, look at any instructions for that specific patch kit for how long to hold it. Even when you have waited the amount of time that it says to, don’t be quick to return the tube into the tire.
Take the time while you give it a moment longer for the patch to dry on to inspect the inner part of the tire for possible sharp objects or likely objects that might have led to the puncture. In case you find objects like nails, wires, bottles, or cactus spines you can use the pliers to pull them out to avoid injuring your fingers since you definitely don’t want to end up simply transferring the cactus spines to your fingers.
When you have done this, then fit the tube back into the tire. Make sure to properly fit the tire and the tube to the rim before tightening the tire to the bike. Using the pump, inflate the tire to the specified pressure as indicated on the tire label and then connect the fixed tire back to the bike and enjoy your ride.
Pinch Cut Or Pinch Flats
Pinch cuts occur when you hit the tire of your bike hard enough against a sharp edge to the extent that it presses your inner tube against your rim so that it pierces the tube and causes a deflated tire. Pinch cuts leave two holes on your tube that looks like snake fangs’ marks, hence the reason why this is sometimes called a snakebite.
This is something that can only happen to tubed tires since it requires a tube in order to happen, but the tire usually suffers no damage. It is only the tube that will need to be repaired, in addition your rim might get dented due to the impact if it was bad enough.
How to Fix Pinch Cuts
Like with any time you need to work on the wheels, you should place the bike in an inverted position so that the wheels are in the air. Don’t forget to place a piece of rag between the seat and the ground to avoid abrasion.
For pinch cuts or pinch flats you should take care to discover the two holes. You can take advantage of the fact that the two holes are always formed in close proximity to each other to help you find both of them. When the holes are identified, use the highlighter pen or marker to indicate the spot and then clean the area off if needed.
Apply the sealant and then close the holes with the quick patch. In this case, you might need to use more than one quick patch, depending on how big or small your patch is and how far away the holes are. As before, apply pressure to the closed spot for a while to achieve a good seal.
Now fit in the tube into the tire, then put both of those into the rim. Make sure that you put the right amount of pressure in the tire and then pack up your tools and enjoy your ride.
Punctures
These are perhaps the most common types of flats to get out on the trail, with tubeless tire especially. It occurs when you ride over sharp objects that can poke pierce holes through the tires and tubes. For mountain biking, some of the sharp objects that are encountered regularly include; nails, rocks, wires, broken bottles, animal and plat shells, thorns, sharp woods, and many other random things.
These sharp objects can pose a considerable risk of puncture when they come in contact with your bike tires and you should try to watch the trail and avoid these if you see these on the trail.
Fixing A Puncture
To fix a puncture in a tubed tire you can follow the same procedure for fixing either a slow leak or pinch flats. But in extreme cases where the puncture hole might be too wide, you should change the tube to a new one.
In the case of a tubeless tire you do have another option called a plug kit. A plug kit has a rubbery thread that can get shoved into the hole with a certain to in order to literally plug up the hole so that the air stops coming out of it.
For this the tire does not need to be taken off of the wheel at all, and the excess of the plug is cut off. Once the plug is in it well enough the tire is then inflated back to the right amount for you to resume your ride.
Blowouts
A blow out is usually a result of too much air in the tube and it is mostly followed by a loud bang that you can hear without any problems. Also, this is something that could also be due to the weakening of the tube layers, making it difficult for the tube and tire to contain the pressure being exerted by the weight of the rider.
When the tube reaches its maximum stretch capacity, it pops open. It also can pop open when the tube gets too old and is weakened, more so when the weather is hot since the air inside the tube expands in the heat.
Fixing A Blowout
Fixing blowouts can pose a lot of difficulties, particularly since the holes are usually large and wide. In most cases, the best fix solution for a blowout is to change the tube entirely, as that will take care of a reoccurrence in a situation where the tube walls are weak.
Quick Troubleshooting To Carry Out If You Find You Have A Flat Tire
Check your tire and tube wear and tear to see if your tires are low on treads. Also, if the frequency of your punctures is something to worry about, then you should also find out of your tires are suited for the terrain. Thicker tires will be harder to puncture.
For mountain climbing, it is very important that you use the right kind of tires for your style of riding.
If the tube has been in the tire for some time, there could be a possibility that they might have been affected by the weather conditions.
Check for sharp objects and if you find any foreign object stuck on your tires take the time to check the inside of the tire because there could be a remnant of what caused the puncture or another sharp objects inside.
Check the valve since it is another factor that can lead to flats. Most mountain bikers hardly check the valve once there is a flat but if the valve is faulty then your tube will not be able to hold air. Try to change the valve to see if the issue can be resolved if all else fails.
When you are inflating the tube you need to make sure that the right amount of pressure is maintained to avoid a possible blowout of the tube or tire. When you are placing the tube bake into a tubed tire, put a little air into it first in order to prevent it from getting a pinch in it as you are airing it up. For this same reason you should air the tube up slowly.
If you already have a patch on a tire somewhere then you should check this to make sure that it is actually working since it is possible that the seal on it is not working properly and that it is still leaking air. One way that you can do this is to pour some water on the area to watch for any bubbling.
If the patch or plug is leaking then you should never try to patch over it. Instead you should try to remove the patch, cleaning the area off as well as you can, and then put a new one over the area to cover over the hole.
Final Tips
For most mountain bikers, the tubeless tires are the best because it offers superior traction, fewer flats, and a smoother ride. A usual practice when out on the trail when fixing a tubeless tire is to remove the tube valve, insert a spare tube into the tire, and then to repair the tire later when you get home.
However, this may not always be as easy as it sounds because of the fact that there will be some remnants of sealant in the tire. This can make it quite a bit messy, so you should have some way of washing your hands afterwards.
As with the other kind of tire you should make sure that you inflate the tube slowly so that it does not form a pinch when you are trying to inflate it. Tubed tires are commonly used in mounting biking because they are less complicated when changing or carry out a quick fix on them.
Tubed tires are known to be affected by several issues that lead to a flat tire, but they require less care and they are not nearly as messy to deal with due to the lack of sealant which is not needed in this kind of tire. For mountain bikers, nothing can be as frustrating as having a flat tire when mountain biking.
Finally, having a knowledge of these quick fixes can help you tackle flats when mountain biking, but in the event of a major breakdown you may need a second pair of hands from someone on the trail. Once you gain some experience with using patches and learn how to do them well then you can really increase the lifespan of your tires.
Sometimes patches wear out fairly soon after you put them on, but at other times these can last for as long as the tread of the tire itself does, letting you get the most use out of your tires before you have to get new ones.