Just as certain features in the frame of a bike can affect your ride either in a good or a bad way, so can pedals do the same. When choosing a bike pedal the first thing you have to decide is what kind of biking you will be doing on your mountain bike. Will you be doing tricks, or mostly riding simpler trails? Keeping this is mind while you search is very important in helping you choose your next mountain bike pedals.
So, how To Choose Mountain Bike Pedals? There are a host of different pedal features such as how big they are, how much they weigh, how durable they are, if they can be adjusted, and how well they will or won’t stand water and/or mud, and that is just a few of the options besides the endless array colors and designs. Each person will have their own preferences and things they can’t stand, so it is good to keep these in mind too when choosing bike pedals.
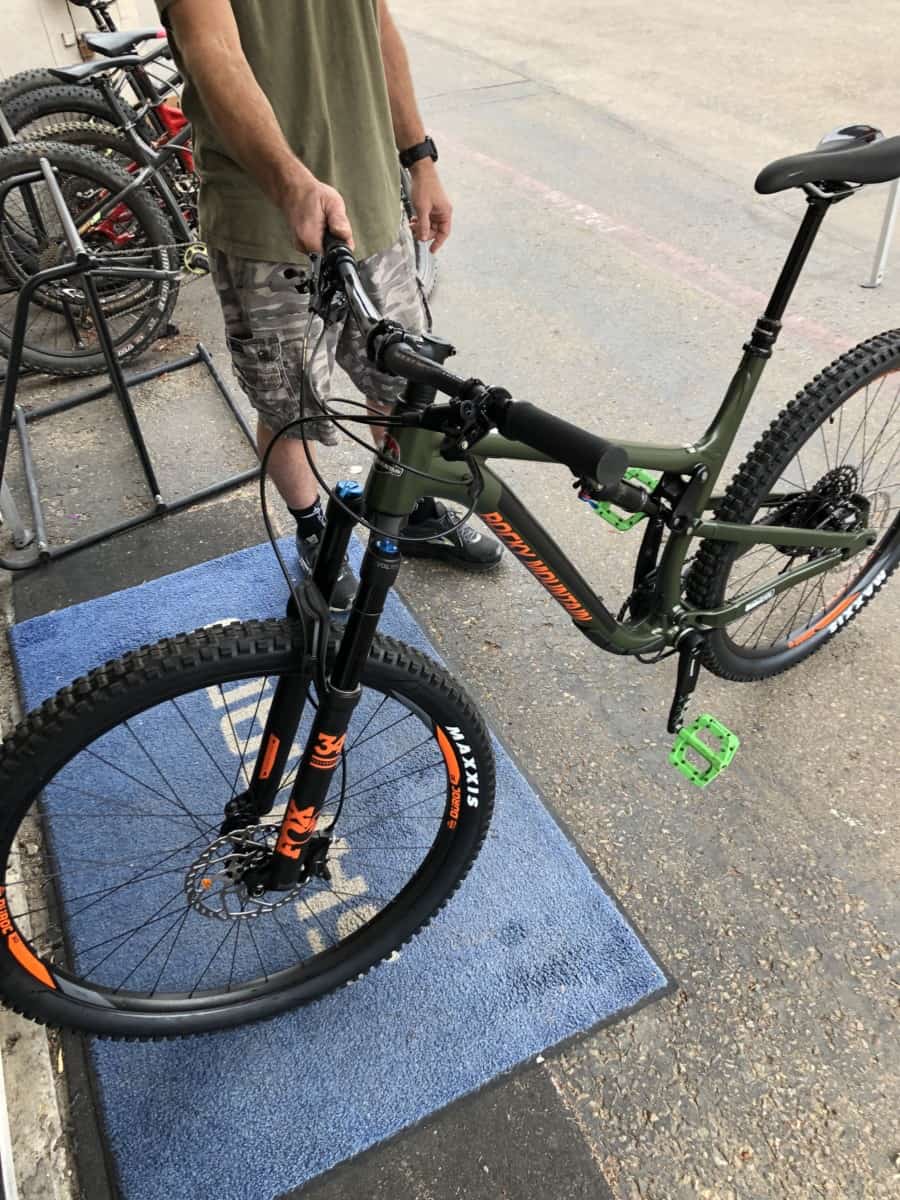
The good news is that most bike pedals are made to be universal, so whatever mountain bike pedal you decide you want to get it will likely fit just fine. You will just need a few simple tools to make the change, but the most important part is simply to make sure that you pay attention to the R and L to make sure you place them on the correct sides of the bike – this can require a bit of thought if your bike is upside down for you to work on it.
Kinds Of Mountain Bike Pedal Designs
The first thing you will probably want to do when looking is to narrow down what kind of mountain bike pedal you want to get. While you may have thought before that a mountain bike pedal is just a pedal, there are actually three main different kinds of bike pedals to choose from, each with its own advantages and disadvantages. These kinds are platform, clipless, or combo pedals which can also be called hybrid pedals.
Platform pedals can sometimes be referred to as flat pedals because they feature a flat design, and these are perfect for beginners and are what mountain bikes usually come equipped with when you buy them. This kind of pedal is commonly used by free riders and dirt jumpers since they make it easy to “bail” off your bike in case something goes wrong. Platform petals are also made to be lightweight, though they can be larger than needed, and they are also often the cheapest pedal option out there.
Clipless pedals are made to give you a strong connection to your pedal and often come with a grip which attaches to the bottom of your shoes and can require you to twist your foot to the side in order to disengage. These are much more expensive, but they are smaller and are great for racing down a trail at a high speed without having to worry that your foot might slip off.
Combo petals come in two kinds. One-sided combo pedals are the kind that is a platform petal on one side and a clipless pedal on the other, while the other two-sided combo kind can be either platform or clipless on both sides. These tend to be solid but are often heavy too, having the same bulk of a platform pedal and the same problems with dirt as clipless pedals do.
While these have a few advantages there are plenty of disadvantages too, including the fact that one-sided combo pedals have the tendency of rotating to where the clip side is on the bottom since it is the heavier side. This can make clipping to it challenging and time-consuming until you learn the best way for you to do it.
For added help when going uphill, there are such things as pedal toe clips and/or straps that can attach to platform pedals. These clip onto the back of the pedal and adjust to where the heel of your foot is and have a strap that goes around and the design enables you to pull up with your foot while your other foot pushes down. These can also come as a whole pedal of its own, though these can be hard to find and expensive to buy due to the fact that they are less common.
Kinds Of Mountain Bike Pedal Frames
No matter which of the above pedal options you want to go with there are a few things that you will want in any pedal you buy, and one of these is that you will want a pedal to be lightweight. Be careful, however, in getting a pedal that is too lightweight or chances are it will not be durable or able to stand the wear and tear of the trail.
While mountain bike pedals can be made out of almost anything from plastic to wood or a wide range of different composite mixtures, most can be grouped into two categories: metals, such as steel, aluminum alloy, or even titanium; or composites that have any mix of things, but which usually feature nylon and/or carbon.
Composites are very strong and lightweight, and tend to have a much better strength to weight ratio. Depending on the specific composite mix, however, pedals made from this can sometimes chip and won’t necessarily stand the wear and tear of going through really rocky terrain. These ones do tend to be cheaper though, so if your budget is really tight you can still get a good pair of these for a reasonable price.
Composites can also feel like plastic, and can actually contain plastic, making them not only feel but also look like they are cheaper in quality. However, they are a little impact absorbent; meaning that if you do get hit with one due to your foot slipping that it will hurt a lot less and be less likely to leave a “shiner”.
Aluminum alloy and steel mountain bike pedals weigh more, but they are also more likely to bend then they are to break should you be prone to smashing your pedal into things. This means that you can keep these pedals for a long time and they can handle virtually anything you throw their way. Nevertheless, if you happen to like colorful pedals then you should be forewarned that any colors are painted onto these pedals and will therefore wear away with time.
An ability to shed mud and/or snow is also a key feature that you must have if you will be riding in all weathers and even during the winter months. The open spaces in the pedals are there for this exact purpose and there should be plenty of them, yet not too many so that it makes the pedal less sturdy.
Kinds Of Mountain Bike Pedal Threading And Bearings
Most mountain bike pedals have threading that are 9/16” and these will fit in almost all but the most rare bikes. Old French bicycles, for example, have different threading which are a different size and which are labeled D and G instead of R and L. This being the case, it is always good to check what size pedals you need just to verify that it is indeed the common 9/16 thread size you need.
All the different words for different types of bearing can be quite confusing. It is easy to see that there are different kinds, but it can be almost impossible to tell when two names are talking about the same kind of bearing or if they are talking about two different kinds of bearings altogether. The fact is that there are a wide variety of different bearing options.
The main purpose of bearings, as their name implies is to bear the weight and distribute it so that the pedal doesn’t break no matter how much you weigh or how much pressure you put on it. Secondly, a good bearing should allow you to pedal easily without sticking in one position. Mostly the differences are: ball bearings, DU bearings, and needle roller bearings.
All but the cheapest pedals are likely to have ball bearings and these can last a long time if dirt and water are kept out. These come in a wide array of kinds but all of them feature small bearing “balls” of some size. These balls will need lubricated occasionally too, but if cared for properly this type of bearing can outlast some of the other kinds.
Due to the balls they also have fewer problems with friction, which is a desirable quality to have. They can handle any kind of pressure from any direction with a couple of the only downsides being that ball bearings have less of a contact area and it can be easy sometimes to lose the balls which then have to be replaced. This can be hard to do because you have to figure out what size balls you need and there is very little difference in some of the sizes.
Double DU bearings are sometimes referred to as “sleeve” bearings because they are a hollow cylinder that has no balls inside it. While these are not actually sealed, they can handle dirt pretty well and need less lubrication because of this.
Needle bearings – also called roller bearings – can transmit the load over their whole length, but can snap if too much pressure is applied or can resist if your pedals are going really fast. While there are actually different kinds of needle roller bearings, they mostly all work off of the same principles and either spin along with your pedals or remain stationary.
Other Features Of Mountain Bike Pedals
Whether the pedal itself is made of composite or medal, most of the time it will have a steel spindle that attaches it to the bike. It is also a wise idea to always have any studs made from metal since these will offer better grip even when the weather is wet and are more likely to be adjustable. Studs can be a great option to help you with your grip on any kind of pedal and can be called traction pins, anti-skid pins or screws, or any number of other names.
Most of the time these studs can be adjustable, or they can be removed altogether if you decide that you don’t want them. While they can significantly improve your grip, they can also cause extra pain if your foot does slip and the pedal hits your leg, so keep this in mind when deciding whether or not you want to have these.
The other option for grip if you do not want studs is to get a mountain bike pedal that has ridged edges. Though this can be almost impossible to find for a medal version, if you are going with plastic or a similar composite version then this can be easy to find. This style is much more kid-friendly and great for beginners in general who are more likely to get their shins hit by the pedals.
It is also a great idea to get a pedal that has interchangeable parts, since this will not only let you replace any parts that break or get damaged much easier, but also will give you more options if you want to change things up just a little without having to replace the whole pedal.
Reflector lights are also another optional feature that mountain bike pedals can have. Some come with these included, while others can have these added on later if you want them. If you have a very thin platform pedal there might not be room on the sides or end to put these, so keep this in mind if you know you will be biking at night and will want to have them.
How Mountain Bike Pedals Work
A bike pedal of any kind is something that has an axle which allows it to rotate and is threaded on one end – that part that looks like the sides of a screw. The threading is the opposite on the left side of the bike which prevents it from unscrewing itself and is also why if you install the pedals onto the wrong sides your bike pedals will keep getting lose and/or fall out entirely.
The central axle allows the pedal part to spin around and exert your weight on it which forces the whole pedal to move and rotate thanks to the bearings inside. With the center axle of the pedal threaded to what is often called the crank arms. These are connected to each other and there are bearings where they connect as well to allow them to rotate too. These further down the way turn your wheels.
Putting On Your New Mountain Bike Pedal
Since there are different ways that the pedal can attach to your bike, there are of course different ways to install it. Most of these are similar, however, and almost all have what are called wrench flats on the axle. Some pedals have what is called Allen-wrench fittings on the inner end of the axle, but a few kinds of pedals have a mixture of both.
First you will have to take off your old pedals, and to do this can be a bit tricky because there is no resistance when you are trying to unthread the old pedal. So, you will want to secure your bike either by placing it upside or leaning it against something solid before you start. Next, look at where the pedal attaches to the crank arm.
You will see the nuts that your wrench can grab a hold of, or a socket that will require an Allen wrench, or both. Once you have these off you will need to unthread the pedal itself and this is done on both sides of the bike. You can keep your old pedals as spares or throw them away.
Placing your new pedals on is the exact reverse of taking your old ones off. When attaching the threading of the pedal, it should always screw into place in the same direction you will be pedaling after making sure they are good and lubricated. The one marked R should go on the right side and the one marked L on the left.
When the threading is on you attach the nuts using a wrench and/or an Allen wrench depending on what your new pedal requires. You can test it when you are done to make sure that it feels secure and it is advisable to only go for a short ride after installing new pedals, after which you should recheck to make sure everything is still nice and tight.
This is because new mountain bike pedals sometimes settle when you first use them. They also will not rotate as freely until the new bearings are broken in, so if you notice this it doesn’t mean anything is wrong and you do not have to be concerned that they will stay that way.