Downhill mountain biking is something that is fun to do and it is even its own branch of mountain biking. However, trying this is the rain is not always a good idea depending on the terrain and just how steep of an incline you are mountain biking down.
Different Factors To Consider
One of the first things that you should consider before deciding whether or not you should mountain bike in the rain is how good you are or are not at going downhill in good weather. If you are still getting the hang of going downhill even when the weather is good, then you will have a really hard time going downhill if the weather is not good.
Next is also the fact of just how hard it is or is not raining on the day in question. Obviously if it is raining and the wind is blowing so hard that the trees look bent over and you cannot stay on your feet very well then you should not even consider trying to get on a bike at all.
Depending on the how the trail is designed and if it drains well, in the worst case scenario the trail itself may end up becoming a sort of small river that gives the water from higher up on the hill a path that it can use in order to go downhill.
Another factor that you should consider, especially if there is any lightning, is how much tree cover there is for the trail. On the one hand, trees can fall over and block part of the trail, but on the other hand if there is lighting then you do not want to be the tallest thing out there.
How To Best Go Downhill In The Rain
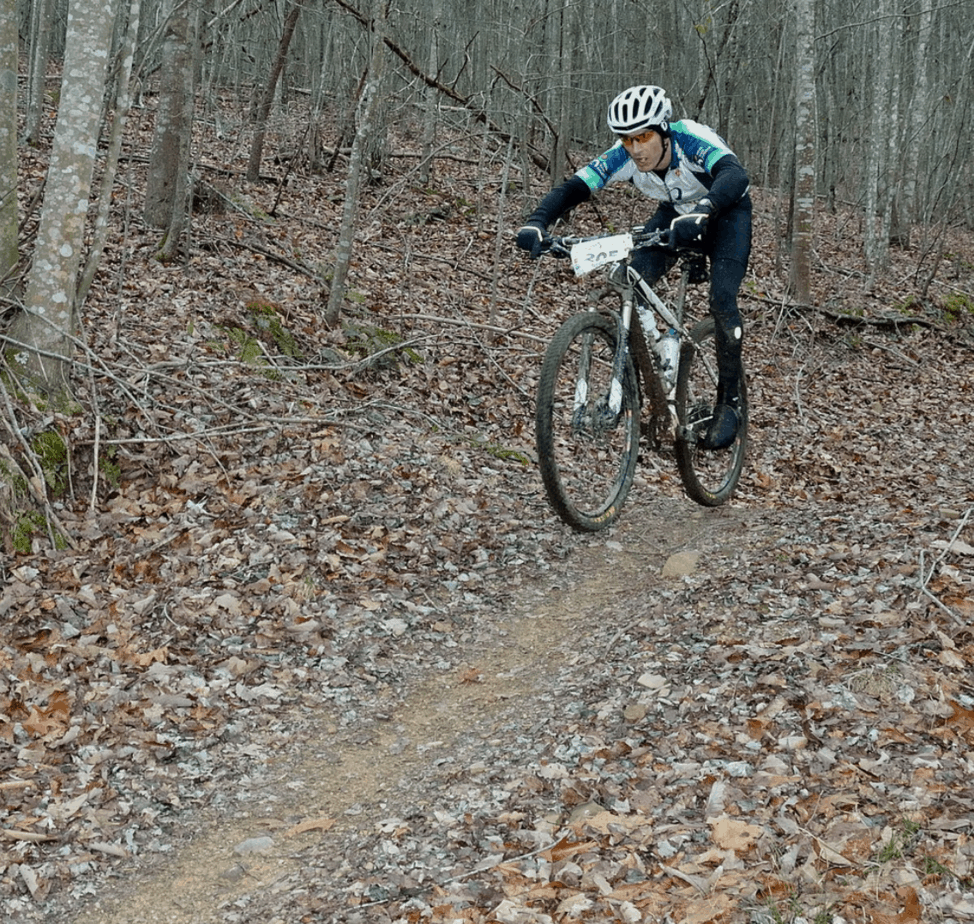
While there are a number of things that are different when you are going downhill in the rain vs when the weather is sunny and the trail is dry, some of the basics of biking downhill do stay the same. The first thing that stays mostly the same is the position that you should be in.
This is most commonly referred to as the attack position, which is used in mountain biking for a number of different situations and terrains. If you are not familiar with what this looks like, I will go over it for you. The first part of this is to make sure that your weight is as centered as possible on the bike.
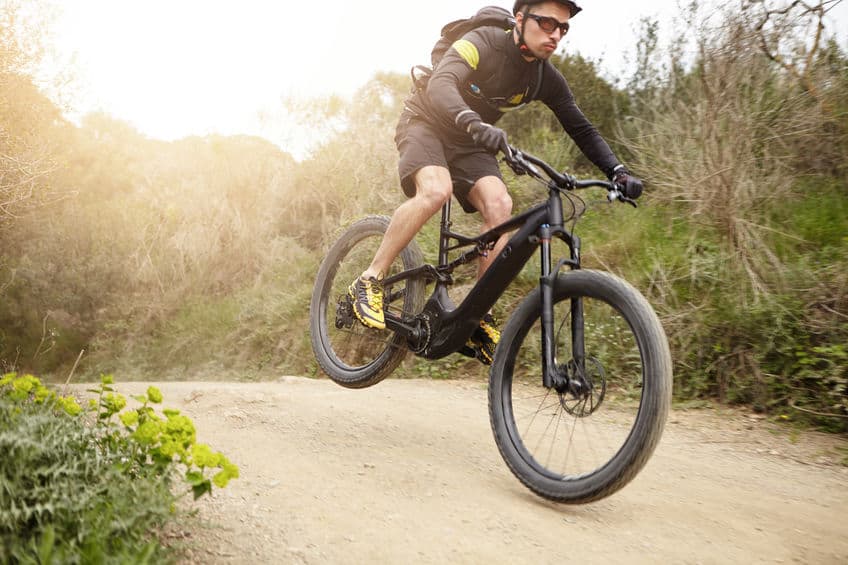
This means not only centered side to side, but also centered front to back as much as possible too with your weight slightly more to the back if you can manage it. If you decide to raise yourself off of the seat then you should go back a little to be closer to the rear wheel, ideally you should be able to grab the seat with your thighs if you hit a bump.
Your pedals, as well as the frame of your bike, should have as little side to side motion as you can manage so that you do not end up hitting rock or anything else with the bottom stroke of one of the pedals. Your legs should be bent and loose in order to act like shock absorbers for you.
The same goes for your arms which should be bent and as lose as you can reasonable make them, or at the least your arms should not be rigid. This includes your hands, which should not be gripping the handlebars as hard as you can. Instead your grip should be firm enough so that your hands can’t slip off of the grips but comfortably loose.
When it comes to your fingers in particular you should always keep one or two of your fingers loosely over the brake lever so that you can press it in only a fraction of a moment and without having to shift your fingers first in order to grab it. While this might feel a little awkward just at first in order to keep this position with your hands, it is actually a good position to have with your hands all of time.
However, having your hands like this is even more important when it comes to mountain biking in the rain because of the fact that it will take you so much longer to come to a stop even after you press on the brake lever.
Just as important as position is where you are looking at. Make sure that you are not getting distracted by looking at anything else besides where you are going. This is especially important when mountain biking during the rain since you will not be able to see as well or as far ahead of where you are going and will therefore have less time in order to react to anything that you might see.
When you see something that will require the use of your brakes, there are a couple of things that you should keep in mind. On course, the first thing is that the mud and wet of riding in the rain will make it take longer for you to come to a stop since you will end up sliding forward some even after your wheel stops moving.
However, even knowing this you should not brake if you need traction for an area of the trail, since braking in the mud pretty much ruins any amount of traction that you might otherwise have. For this reason you should never try to brake and turn at the same time in the rain.
You should be braking before you need to slow down which means that you need to think ahead. This also means that the best places to brake at when you are going downhill are the places that have good surfaces for your tires to grip and that are safer.
Braking in this way can be quite a bit against your instincts, since you will naturally only feel the need to brake when you are on the rougher areas of the trail. Braking in these areas will not really work to slow you down anyway, so it is pretty much pointless to try to brake for them unless you hit your brakes a distance before you get to that spot and where the trail might let your tire grip it better.
You should also remember not to grab the brake too hard, especially if the incline is a steep one and you happen to be going forward at a fairly fast rate of speed. This is because if your front brake manages to catch your front tire then you and your bike could potentially flip up and over.
Even if you have a back brake then you could lose control, though having brakes on both the front and on the back can do a pretty good job of keeping you stable even if you should feel the need to brake hard. Also, if your weight is further back like it should be then this will be a huge help in making sure that you do not lose control.
Perhaps the most difficult parts of a downhill trail can sometimes be the start of the trail and the end of it. This is because of the fact that the trail can start off with a really steep section with an actual edge that you have to go over.
The bottom of the descent can sometime put you off balanced if it sharply changes into being a fairly flat trail or even more so if it changes to going back uphill again. Since when you are going downhill you should be leaning back on your bike this sudden change can actually be enough sometimes for you to tip backwards with your front wheel off of the ground.
Finally, the last thing that you should try to do when biking downhill in the rain is to let yourself go over obstacles whenever possible since changing direction at all requires traction that you simply will not have in wet conditions anyway. To help with this you should be hitting obstacles straight on to give you the best chances of making it over them.