If you are an adult and you have never learned how to ride a bike, then maybe you mistakenly believe that you could never get good enough to learn how to ride off-road on the mountain biking trails if you, even think you can learn to ride a bike at all.
The fact is, if you think that you are too old to learn then you are wrong! Adults are still capable of learning new things like mountain biking so don’t try to use the “old dogs can’t learn new tricks” phrase. In one place in New Zealand where mountain biking is popular there is even a program specifically to teach adults that are new to biking and which has taught adults over 60 year old how to mountain bike.
So, even though it may be a little harder to learn as an adult in some ways than it is to learn as a kid, especially in the area of picking yourself back up after you fall over, you will still be able to accomplish it if you keep a few things in mind.
Get A Mountain Bike That Fits You Right
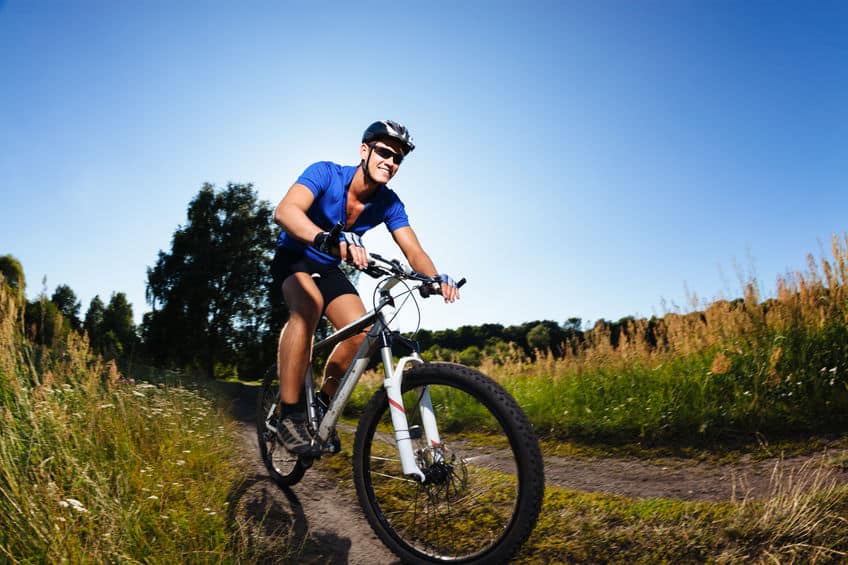
In order to start learning how to ride a bike to get into mountain biking, the first and most important thing that you will need is a mountain bike. You cannot practice riding a bike unless you actually have a bike that you can practice on, and for the sake of your knees and elbows you should be extra careful to make sure that it fits you like it should.
There are some important things that you can do to make sure that the mountain bike that you get is the right size. The first thing that is perhaps one of the most important while you are learning is that the bike is the right height for you.

You should be able to stand while flatfooted on the ground over the bar in front of the seat of the bike and you should be able to reach the ground with the tips of your toes even when you are in the seat. This is especially important because you need to be able to reach the ground in order to come to a stop or you will end up falling over, possibly all the way to the ground.
On the other hand, you do not want your mountain bike to be too low either. A bike frame that is too small for you, while you will find it much easier to reach the ground, will scrunch you up and possibly even make it so that your knees are hitting the handlebars as you are pedaling.
Finally, the mountain bike should be as comfortable as possible. In other words, the handlebars should not scrunch your arms up against you and neither should they make you feel as though you are having to fully extend your arms just so that you can reach them.
Start Practicing
Now that you have a bike that fits you right, the next place is to find a good place to practice. A mountain biking trail is actually not the best place to first get on your bike, even if it is a beginner trail. The reason for this is because there will be other people on the trail, not only making it hard for you to focus but also you do not want to fall over right in their path.
The best place for you to practice is in an open parking lot that no one is driving through or, even better, an empty field in a park or something. Either place has advantages and disadvantages, with the field providing a softer landing and more possible holes and bumps while the parking lot would be flatter and harder to land on.
Once you have found a place where you can practice, the first thing that you should start with is how to get on and off of your bike. One tip when you are learning this is to hold your brake lever down the whole time as you are getting off and on so that your bike isn’t moving on you as you work on this.
When you feel like your are getting comfortable with getting on your bike, the next part is to simply practice gliding without pedaling. In order to “glide” on your mountain bike you have to get used to balancing without pedaling just yet.
To do this you start off with both feet on the ground and sitting on the seat. Push forward with both feet, balance yourself for as long as you can, and then when you feel yourself falling to the side put your feet back out to catch yourself.
Practice this until you can push yourself forward and keep your balance for longer and longer distances, eventually working into it placing your feet on the pedals for a moment. Then work up to where instead of landing on both of your feet you keep pushing forward with your feet over and over again. Practice this until you feel that you have good balance.
Once you are here then you are ready to start pedaling, start off by going just a short distance at a time straight forward without thinking about any turns or anything just yet. When you can go straight, pedal for a while, and then come to a nice stop, then you can start working at turning.
Since turning too fast will result in your falling over, give yourself plenty of space and do one huge circle going first one way and then the other. Then you can tighten the circle gradually so that you can make more of a turn as you feel comfortable doing so. Continue this until you can make a right turn or a left turn like what you would need to do at a street corner.
Take It To The Trail
Once you are to the point where you feel fairly confident on nice, flat cement in both going in a straight line and in doing some turns, then it is time to take your new skill to the actual mountain bike trails. To really work on this it is best to pick just one trail that you think that you could manage and then to confident with it before moving on to the next one.
Each trail usually has a symbol that indicates its difficulty rating. The difficulty sign for a beginner trail is a green circle, while an intermediate trail is a blue square, with a black diamond being the symbol for an advanced trail. Some of the extremely difficult trails can even be marked by two black diamonds.
Other than that, sometimes these symbols can be combined. So a trail that is not quite easy enough for a beginner trail or hard enough to be considered an intermediate trail can be marked with a green circle inside a blue square. This same thing is sometimes done for trails that are in between intermediate and advanced.
Mountain biking trails tend to be either singletrack or doubletrack, with singletrack trails being pretty much just wide enough to allow one bike on it. This means that if there is someone else coming from the other direction that one of the bikers will have to go to the edge of the path in order to let the other one pass.
Doubletrack trails are, like you might guess, wide enough to allow two bikes to pass each other. Sometimes these are old logging tracks that are simply used for mountain biking, and most often these trails are much simpler than singletrack trails.
All of that being said, if you can find a beginner trail that is a doubletrack near you then that is probably the one that you should go with. This way you will not be unnerved by having to get to the side of the trail to allow someone to pass you while you are still learning.