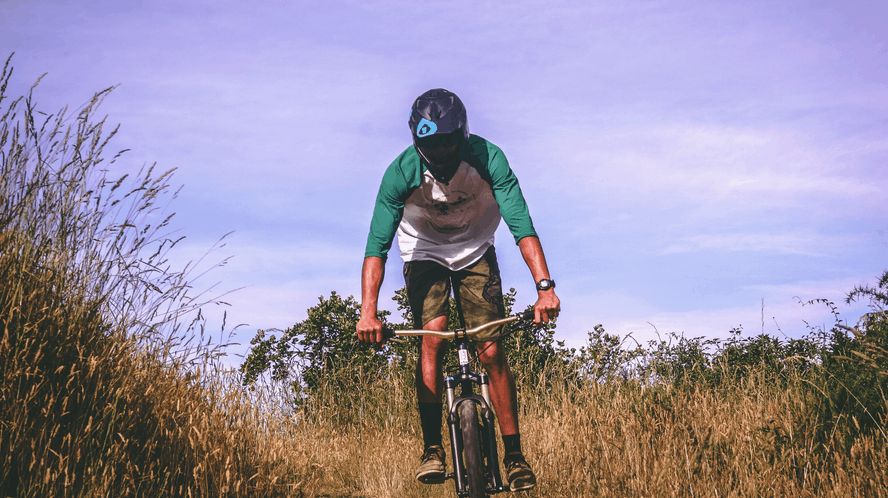
After a long winter the biking trails are finally thawed out sometime in spring, and the pristine look of the grass and trees beckon you to hit the trail with mountain bike in tow and dust off some of the skills you were working on the previous year – or maybe the skills from a few years ago if it has been longer since you have been on your bike.
However, if you have not been on your bike all winter you cannot expect that you will be at the same level that you were when you rode you last trail. This is something that, even if you have a lot of experience, you should ease into no matter how tempting you might find it to act as though you never took a break at all.
One of the most important things that you should do to get yourself back to where you were at before is to get yourself back in shape, since pushing yourself too hard too fast will result in the very least with a few pulled muscles. Or, maybe you have very little experience on a mountain bike to begin with. In this case you will definitely need to work on getting in shape.
Some people who are already experienced mountain bikers will probably hit up the trails knowing that they should take the first few rides easy, and sometimes this is all that they need to do especially if they have a short winter where they live. In places with long winters and where the best trails are taken over by skiers, sometimes a little bit more is needed to get back into shape.
What Areas Is It Important To Get In Shape When Mountain Biking?
Essentially there are three main areas that you should work on getting into shape. The first of these is your upper body which is your arms up into your shoulders, the second is your lower body which is your legs up into your hips, and the third area is your core. If you read that right then, yes, you are pretty much using your whole body for some aspect of mountain biking.
Your upper body is going to be what you use when you need to turn your handlebars, but if you are doing almost any of the technical features on the trails then you may have to do things such as lift the front of your bike up which will also take a fair amount of upper body strength in addition to core strength.
Your core strength is used a lot when you are mountain biking in order to keep you more stable on your mountain bike, especially over those bumpy areas on the trail. These muscles are also used when you lift yourself off of your bike in order to do some power pedalling.
Your lower body is the most obvious part that you use when you are biking, since it is you legs that are having to do all of that pedalling to the point where you will sometimes be able to feel that burn.
Some Exercises That Are Good For Each Area
When it comes to each of these three areas there are exercises that you can do without getting on your bike in order to help you get into shape. These can be very helpful if you do them during the winter when you can’t get on your bike, or even if you are just getting into mountain biking.
For your upper body you really want to make sure that you do some exercises that really get into your shoulders and wrists some. A few good options for this are the dumbbell deadlift, chin-ups to a bar, bench dips, diamond push-ups, barbell curls, and triceps extensions.
Your core strength should cover a lot more areas than simply your abs, and it should also work some on the various muscles in your back that are up into your neck and on either side of your spine. Some great exercises for this are scissor kicks, dead bugs, forearm planks, hip extensions, power bridges, and single-leg crunches.
For your lower body you should really work a lot on your leg and hip joint muscles since these will be moving around a lot the whole time you are pedalling. For this you can use squats, kettlebell swings, lunges, box jumps, leg presses, and burpees.
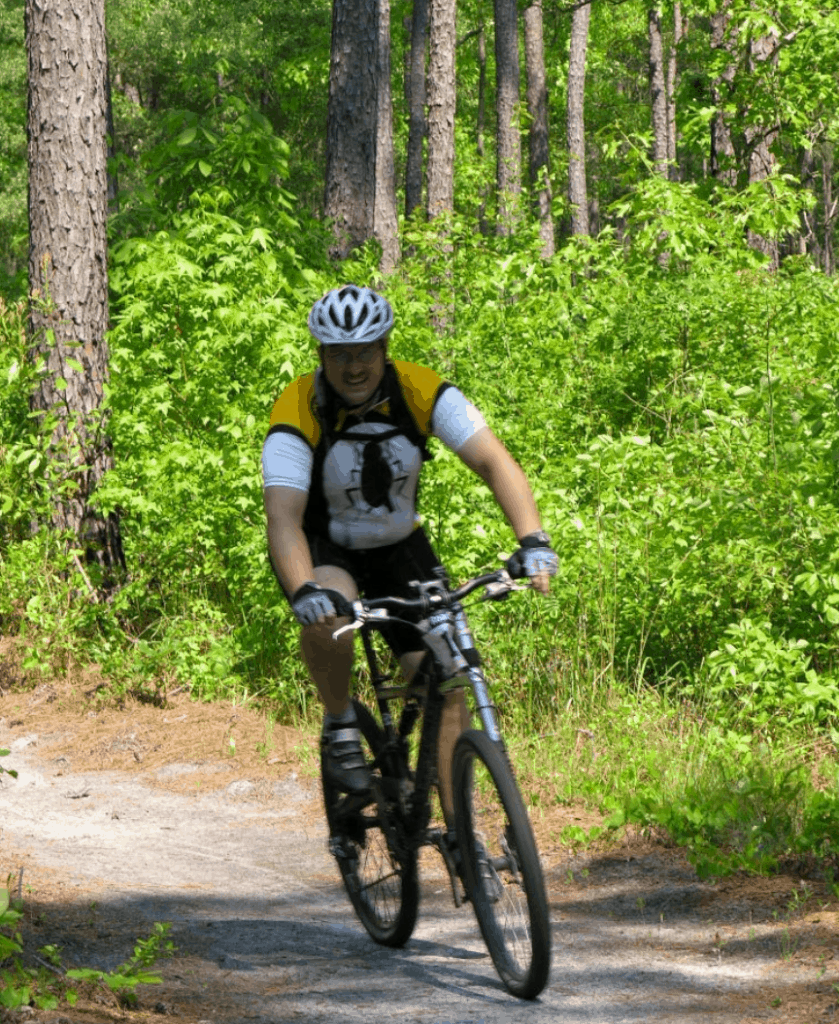
If you are new to mountain biking then you should try out riding on some paved roads and then going straight from them onto a bumpy mountain biking trail to help you really get the feel for how these are different. Road riding is more aerodynamic and controlled, but during an off-road ride you will have to learn to shift your weight back and forth as well as make various micro adjustments to ensure that you have good traction and balance.
No matter what exercise you do, you should not neglect actual bike training though. You want to do these recommended exercises while continuing to ride your bike everywhere you go if possible for the best results, especially working on trails that will give various parts of your body a good exercise.
Effective strength work on the bike means riding at gear levels with high resistance, so try riding at a low rate of revolution of about 50-60 RPM for short cycles of 3-7 minutes. This on its own will stimulate all of the leg muscles that you need to target.
The Dumbbell Deadlift
Here is an exercise that will allow for a greater range of motion when compared against other exercises. This is a multi-joint exercise and a great total-body work-out. In order to perform dumbbell deadlifts, hold a pair of dumbbells in front of you with an overhand grip and keep your palms facing your body with just your fingers wrapped around the dumbbells.
You should be standing with your feet shoulder width apart. Once you are in this position then you can arch yourself forward from the hips without curving your back at all, and then stiffen your core and arch yourself backward to the starting position, still without bending your back at all.
Chin-ups Or Pull-ups
Chin-ups can help to measure your overall strength as a person. This is the best upper-body work-out to do if you can’t quite do a pull-up. This exercise works on your biceps into your shoulders and can be done anywhere as long as you can find a chin-up or pull-up bar or any bar that could be used for this.
To so this exercise you should start by placing your hands on the bar with an underhand grip and your palms facing your body. Once you are there, raise your body until your chin clears the bar above you, then you can slowly lower yourself back down while keeping your hands gripped to the bar in order to complete one repetition.
A pull-up is the same type of movement, but requires you to use more of your shoulder and back muscles to assist you up the bar because of the fact that your hands grip the bar the other way around with your palms facing away from your body. A pull-up also requires you to go all the way up to the bar with your shoulders instead of simply raising yourself so that your chin is above the bar.
Bench Dips
Bench dips are a great exercise for stimulating your triceps. In order to do this exercise you will need to find a bench and some form of a chair or box, though you can potentially use two chairs for this. Place the bench behind you perpendicular to your back and hold onto the edge of it with your hands while looking away from the bench.
Your legs will be bent perpendicular to your torso and extended forward, with your feet placed on a box. This is the starting position for bench dips and it can be hard to figure out at first, but once you can get it this is simple enough. The instructions for doing this exercise are easy to remember once you are in position.
Simply lower your back as you inhale, bending at the elbow in such a way that as you get lower you form a 90 degree angle between your upper arm and forearm. Make sure to keep your elbow close to your body as you do this movement. To complete one repetition, use your triceps to raise your torso up back to the starting position.
Diamond Push-up
This is a more difficult variation of the classic push-up and it can sometimes be referred to as triangle push-ups. This is an advanced exercise that requires you to have mastered doing regular push-ups. The difference between a diamond push-up and a classic push-up is this: The diamond variation stimulates your triceps and requires a close-grip stance, and the classic version stimulates your chest and requires your hands to be spread wide apart.
Here is how to do a diamond push-up. First you should get on all fours with your hands placed together under your chest. Form a diamond with your hands by positioning your index fingers and thumbs together and your thumbs extended.
Now, with only your hands and your toes touching the ground, extend your arms so that your body forms a straight line from your head to your feet. Lower your chest to your hands while making sure to keep your elbows up against your body so that they don’t flare out to the sides, and stop just before your chest reaches the floor.
To complete one repetition, push yourself back up to the starting position while keeping your back straight the entire time. For beginners, you can start with your knees touching the ground. Then drop to your knees and perform another set of diamond push-ups.
Barbell Curls
This exercise stimulates your biceps, and with biceps the most and it is one exercise you will likely want to master. You can sculpt some serious mass and shape to your biceps by performing the barbell curls if you do them with a large load of weight. If performed correctly, you can lock down every other arm movement that requires the use of your biceps.
In order to do this exercise you should really try to use an actual barbell specifically, though you can use other things in place of a barbell if you do not happen to have one. When you are using a barbell you should load the bar with enough weight to cause your muscles to strain and to lock your upper arms in place.
Stand behind the loaded barbell with your feet slightly wider than your shoulder width apart. Bend down and pick up the weight with your hands slightly wider than hip width. Stand up straight with your arms extended down, shoulders back, chest high, and head facing forward.
Curl the bar up to your chest level by squeezing your biceps. You’ll want to keep your elbows fixed to the side as you are doing this, with your upper arms pressed into your ribs so that you can prevent your elbows from flaring during this movement.
As you curl the bar, you also need to squeeze your glutes muscles. To complete one repetition, lower the bar back down while maintaining tension in your biceps and while keeping your elbows tucked in. In order to get the most out of these you should try to deliberately stiffen your muscles while you are doing this.
Forearm Plank
A forearm plank is a core body workout that allows you to practice stability which makes it a great exercise if you are using this for mountain biking. Most people when they think “core” think of ab work-outs which focus on the front or upper abs which is also called the 6-pack area.
However, the real muscle in charge of giving you a flat belly is actually your lower abs, also known as the “transversus abdominus.” This muscle is right below your belly button and is not only good for a flat belly, but it’s also important for back health.
To do this exercise you should start by getting down on the floor, placing your forearms flat against the floor while keeping your elbows tucked in by your sides. Raise your body above the floor and then use your core muscles to hold yourself at that height. Hold this position for 1 minute, and don’t let your hips rise or drop during this plank.
Dead Bugs
This exercise stimulates the same lower abs as the forearm plank exercise and it is also good for anyone experiencing issues or soreness in their lower back. If you practice this exercise regularly, it can strengthen your abs, promote good back health, and it will enhance your body posture, as well.
The starting position for dead bugs requires you to lay down on your back with your hands extended above you towards the ceiling. Bend your knees at 90 degrees and raise your thighs perpendicular to the floor so that your knees are pointing towards the ceiling and your claves are horizontal.
To begin, simultaneously lower your right arm and left leg down towards the floor, but without actually touching the floor, instead hovering at about 2 inches above the floor. Exhale as you lower your ligaments, and inhale as you raise them again. Alternate between your left side and your right side for a number of repetitions until you complete 1 set.
Squats
This is sometimes referred to as the king of all exercises, and you will need to master squats if you want to truly get in shape for mountain biking. This exercise is a whole body workout, stimulating not only your glutes, quadriceps, and your hamstrings, but also your core. You can add weights to your squats if you like, but the regular bodyweight squat is all you’ll need for now.
The basic movement of a squat will have you starting at the standing position. Correct your posture by rolling your shoulders back and curving your back some to remove back stress. Extend your arms straight in front of you and parallel to the floor with your palms facing down.
Then you should bend your knees and hinge your hips back, lowering them to the point where your hips are just below your knees. After you have done this, raise yourself back up by using the bodyweight that you’ve placed at your heels to drive you.
There are a number or variations of squats that you can use once you have mastered the basic squat. These include the following the goblet squat, the back squat, and the front squat just to name of few.
Lunges
This type of exercise can be performed anywhere and helps to tone your legs and back. In the right position your back should be straight, chin up, and shoulders back in order to start. To perform this exercise, just step forward with one of your legs and lower your hips, bending at the knees until you form 90 degree angles at both of your knees.
Your front knee should be above your front ankle, but not pushed out too far. To complete the movement, raise your hips back up by driving the back up from your heels. Alternate from one leg to the other as you move forward and lower your hips each time. For an even greater challenge, you can even try this exercise by moving backward.
Will Training Improve My Endurance?
Yes. Going mountain biking means going up and down a lot of steep slopes more often than not. Just because you have the strength to bike, does not mean that you have the endurance to handle a mountain. You can easily run out of breath within the first few minutes as you go up a number of steep slopes if you are out of practice.
What Are Common Injuries Associated With Mountain Biking?
Competitive mountain biking is rising in popularity, as is the sport of mountain biking in general, and this involves plenty of off-road riding over tracks with a number of different surfaces. High speeds achieved during the downhill areas of a mountain trail in particular can lead to falls and serious injuries.
Most of biking injuries are not very serious, including only minor injuries like cuts and abrasions, with blisters on your hands and things like that being the most common. However, some mountain biking injuries can be quite severe such as broken bones and things.
Cuts And Grazes
One of the injuries that a rider can receive during mountain biking are cuts and grazes. While these are in the same category, they are actually different. These are mostly injuries that damage the skin following a fall from a mountain bike. A cut or laceration is a penetrating tear of the skin.
If the cut is shallow or small then it will heal very quickly without you having to do anything about it. However, deeper cuts could require something more, since even a small cut on the head will bleed quite a bit and will therefore need you to do something to stop the bleeding but may not need you to do anything other than that.
A graze or abrasion is where the skin gets scraped off from the body such as what you get when you get a carpet burn. Like a cut, if a graze occurs only within a small area then this wound will heal very quickly on its own, but a larger graze may need some care.
To avoid cuts and grazes, make sure to maintain your balance on your mountain bike and try to shift your weight back. Look out for tree stumps and rocks that could cause a fall, and wear protective padding over your elbows, hands, and knees to reduce your chances of receiving a cut or a graze here. Always carry a first-aid kit in case you suffer from any of these injuries.
Broken Collar Bone
Mountain bikers can potentially receive a broken Collar bone if they fall off of their bike. The collar bone, or clavicle, can brake if you fall onto an outstretched hand. A strong force is sent up your arm during such a fall and can cause your shoulder to fracture, resulting in a broken collar bone. If you suffer from such an injury, then you should apply an ice pack to the shoulder and get your fracture treated at a hospital.
Spraining The AC Joint
An Acromio Clavicular (AC) Joint is part of the shoulder muscles. It is attached to the shoulder blade by strong ligaments. If you fall onto an outstretch hand, or on the tip of your shoulder, then you might sprain your AC Joint.
You can treat an AC Joint the same way as a broken Clavicle, by applying some ice packs to the shoulder. You can also use a shoulder support and sling to provide additional support. However, if this muscle gets torn at all it can often require surgery in order to fix.
Runner’s Knee
This next type of injury may sound strange to you, but even though bikers are not running up and down mountains, they might acquire an injury known as Runner’s Knee. Knee pain is actually the most common injury for mountain bikers to experience.
This is because repeated bending and straightening of the knee joint can cause a stressful amount of friction against your knee caps, and this can lead to inflammation of the surrounding tissues. To prevent such an injury, one of the most important things that you can do is to choose a bike with the proper frame size.
Make sure the saddle is not too high or low, either, since this can cause your knees to over or under extend when the pedal reaches the bottom peak of its revolution. One important tip in regard to this is to also prevent the bad habit of curling or pointing your toes inward.
This type of habit increases the risk of Runner’s Knee. Common treatments for this type of stressful friction is to apply ice and to use anti-inflammatory gels. A knee strap can also be worn if the rider wants to continue riding.
Lower Back Pain
The last most common injury I’d like to go over with you is that of lower back pain. Repeated overuse of your back or too much bending of it can cause lower back pain. A flexed posture increases the likelihood of such an injury, and this can lead to the degeneration of the outer layer of your spinal discs. If one of your discs prolapses out, then this is known as a Herniated Disk.
To prevent lower back pain, just make sure that you are able to sit on your bike comfortably. Adjust the frame to prevent yourself from over reaching the handlebars while riding since this can cause lower back pain. If the bike frame is too small, then you will be hunched over your bike, and this too can lead to lower back pain. If you suffer from lower back pain, then wear a back brace if needed.