If you are new to mountain biking it is possible that you are also new to having gears with no clue how and when you should use them. As simple as they might sound, using mountain bike gears is something that you have to work on a lot before you actually get it down.
Mountain bike gears are in a way the same as speeds in automobiles such as motorcycles, cars, etc in that the higher the number, the higher the speed while the lower the number, the lower the speed of the bike.
Generally, bikes have 1, 3, 18, 21, 24, or 27 gears. In newer bikes, gears such as 10 and 15 are no longer designed, but some of the older models still have these. When using the gears the lower numbers allow the speed of the bike to be slower while the higher gears help the bike to run faster.
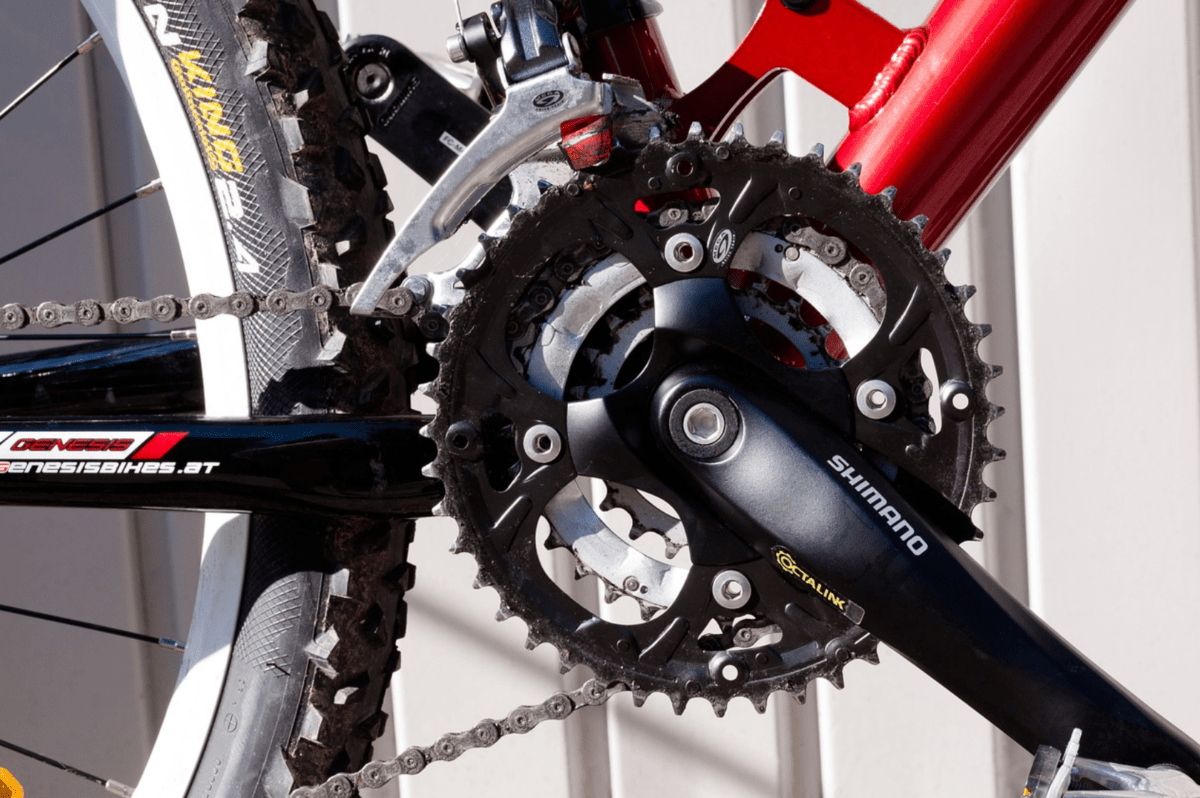
Shifting gears means going from one gear or speed to another. Selecting a new gear can be done quickly by just the shifting lever or by sliding the shifters on the hand bars. On most bikes, when the shifter is operated, a mechanism helps to shift the chain from ring size it is on to another ring size. The movement could be from a bigger ring size or to a smaller ring size, depending on the speed selected.
For a three gear bike, the gears are hidden inside the hub of the wheel, so you don’t see them. Logically, downshifting the gear slider means to select a lower gear, while up shifting the gear slider means to select a higher speed.
How do I Tell How Many Gears My Mountain Bike Has?
If your mountain bike is designed to have three gears, you shouldn’t have any problem in trying to figure that out. The bike will have one gear shifter, and it will be labeled 1, 2, and 3. Moving from one speed to another can quickly be done by shifting to any desired gear or speed of your choice.
But if your bike has ten or more speeds, then is when things start to get a bit trickier, however you can still figure this out yourself pretty easily. Having ten or more gears is an indication that your bike will have two gear shifters, one on each side of the handlebars.
For instance, if your bike has 18-speeds. Your left gear shifter might be labeled 1, 2, and 3 while the right gear shifter will be labeled 1, 2, 3, 4, 5, and 6. Now here is how this works. Every time you adjust the left gear shifter to be on either the 1, 2, or 3, you can are also able to select any of the 6 gears on the other side.
This means that you could have a total of 18 combinations that you can use. For a good mountain biking experience, all you need is a bike with a good range of gears. You must understand that the number of gears on bikes is increasing by the day.
Before now, it was 3 gears, then 7, then 10 before it went to 15, 28, and now we are talking 21 gears as an average. The point remains that you need gears that are and low enough for going uphill and also high enough to provide an excellent resistance when descending downhill. Once these requirements are met, then the number of gears is irrelevant.
What Gears To Use For Going Uphill
When going up a hill, you should try to use a lower gear to achieve as smooth and soft of a pedaling effort as you can so that you do not have to work so hard going up the hill. The exact number of the gear depends on the slope of the hill and also the level of softness of your low gear.
As a general rule if your mountain bike is a 7 gear bike then whenever you are going uphill you could use any of the gears between 1 and 4. Apart from using the right gear when climbing a hill, there are certain factors that you should also consider when doing the climb.
Biking Tips When Climbing Uphill
This first tip is to always anticipate and look out for hills. Whenever you are out on a mountain biking adventure, always lookout and anticipate hilly terrains so that you can get ready to change gears, since this is something that you will want to do before you start climbing.
Keeps your eyes on the road, especially when you are on unfamiliar terrain. You will need plenty of time to prepare yourself for the task ahead. You might want to drop some gears as you approach the hill, depending on what gear you are using.
Doing so will help increase your pedaling speed and will help generate enough forward momentum to help you ascend the hill smoothly. Be careful to drop the gears one at a time to avoid dropping the chains altogether from the gear system.
Studies have revealed that bikes generate the perfect level of power while conserving energy by remaining seated. Generally speaking, unless you want to work out, it is always better to drop some gears to a softer one and remain seated while pedaling uphill.
While seated and on a lower gear, you should be able to generate enough force needed to get to the top without having to stand up and power pedal. On the other hand, you might want to try out between sitting and standing to know what best works for you.
Having a lighter bike contributes to how comfortable your ride can be when climbing a hill. If you could shed a few pounds of weight yourself, then that could also go a long way, especially when you can’t afford to get a lighter bike. The lighter that both you and your bike are, the less weight you are having to pull uphill.
Having a good amount of cardiovascular fitness is also a big plus when riding uphill. Your level of fitness significantly impacts your endurance level when you are trying to do something like climbing a steep hill. To help with this, you could find a long set of hills and try to train on them more often, since mastering these terrains will help you as a mountain biker.
Finally, the last thing that you should keep in mind when you are going for an uphill climb is that this will put a strain on your chain. When this happens sometimes the gears will refuse to change or start to change and get jammed. For this reason, you should already be at the gear you want to climb the hill with before your chain gets tight.
If you simply must change gears on the hill, you have two options. The first is to stop for a moment, which you may need to do to catch your breath anyway if it is a big hill. The second is to pedal really hard for a moment or two to get momentum going so that you can stop pedaling, switch your gear, and then continue.
What Gears To Use For Going Downhill
Descending a hill in mountain biking is an easy task but it can be a tricky one. One things that can make it so is that, while your legs will be doing less work, you have to be alert and in control of your bike. There are no best gears for going downhill, but, when going down hilly terrain, shift your gears to a higher speed depending on the level of the steepness of the hill.
You should select your gear to a gear setting that can help you achieve some level of resistance as you go down the hill. To reduce the risk of accidents and incidents when going downhill, you should consider the following tips.
Biking Tips When Going Downhill
The first and most important thing that you should keep in mind when you are going downhill is that you should try to control your speed. If at any moment you feel that you are out of control when going downhill, then you probably already are. You might not be in control at times even if you do feel in control of the bike’s speed.
Bikes are not able to stop as quickly as cars, and you need to be able to stop within the distance visibly ahead of you. While there might not be any compulsory eye test to bikers, it is your responsibility to ensure that you can see well enough for the speed you are on.
Try as much as possible to go at a speed that you can easily control in case of any eventuality, considering that the bike will be moving at a free-fall speed when descending a hill. You should always keep a high alertness level when going downhill.
Scan your route and the environment for other bikers, rocks, logs of woods, and other obstructions when riding down hilly terrain, preferably far enough ahead of where you are so that you have the time you need in order to come to a stop if needed before you get to them.
Always keep your brakes covered with your fingers when descending. Doing so will help reduce you’re the time it will take you to react when the brakes are needed. Apply the brakes early enough by gently squeezing them the moment you realize the need for it.
Doing this will help you to avoid sudden jamming of the break when you get too close to a breaking point. Braking lightly before you brake hard will also help you to keep control of your bike and is much safer to do since if you brake works as hard as you pull on it and you front tire happens to be lower than you back tire is you could easily flip yourself over.
For this same reason, it is also best to keep your weight back on the seat while descending to avoid wobbling and loss of control. The angle of the hill naturally moves your weight forward to the level that it can adversely affect handling and control.
What Gears To Use For Rock Gardens And Other Technical Features
When going over rocks, its best to use a high-speed gear as you navigate the rocky environment. You will need the speed and strength to sort of oversteer and monster truck through it. Part of this is because you can’t always pedal during these sections since you are more likely to clip a pedal on the rocks.
Like when you go downhill or uphill, there are a few things that you should keep in mind. The first one of these is that you should try to use your arms and knees as suspension. You risk getting thrown off the bike if you stiffen your body too much, not to mention that it will make you feel those bumps even more.
You can absorb all the movements and soften the blows by keeping your knees bent and elbows bent and by keeping both of these as loose as you can while you are still maintaining a grip on your bike.
You should also plan ahead for these areas by picking up some speed that will allow you to get enough momentum to carry you through it. Sometimes you don’t see it in time or you don’t have enough momentum and end up needing to pedal.
However, in some rock gardens completing a full revolution when pedaling can be impossible without chipping a rock. This is when ratcheting the pedals becomes the only possible to make headway if you want to continue biking.
If you choose the right gear, a good ¼ turn of the pedals will provide the needed force to propel you over the stubborn rock and keep you going. You don’t want to risk hitting your pedals against the rocks if you can help it at all. Doing so will not just slow you down, but it can potentially upset your balance and can even knock you down.
Remember where you are heading and keep your head straight and up. If you are looking down, you will have trouble planning your next move as you go on. Finally, selecting the right gear on a rocky garden can be tricky and technical. The secret behind doing this correctly is for you to observe the terrain and shift to suitable gear for the environment.
In most cases, it is best to use a higher gear so you can be able to generate the right amount of torque to push over the rocks. When you are using the best gear, you should be able to gain forward momentum with just ¼ and ½ turns of the cranks until you are over the area.
What gear you want to use for other technical features is something that can vary widely, but the best thing that you can do is to practice them using different gears or to get the opinions of other mountain bikers who you know go over those features on a regular basis.
Some of what gear you will use for them will depend some on if the technical feature is one that is on level ground or if it is something that you are going downhill or uphill for. If you are going steeply downhill when you hit a certain technical feature you will obviously going to be in a higher gear setting than you would be if you met the same obstacle while you were going uphill.
Conclusion
To get yourself acquainted with the gears of your bike the best thing that you can do is to spend some time practicing the gear selection. Ride up and down a reasonably quiet trail and try shifting the gears. Do so continuously until you can comfortably maneuver the gears with ease.
Another way you can practice if you are having a hard time telling any difference between your gears is to ride the same stretch of trail solely in one gear, and then do the same trail in a different gear until you can start to feel the difference between the different gears in your aerodynamics.
Whenever you see a hill ahead of you, ready your bike by shifting the gears to a lower speed as soon as the climb starts, that way you will not be caught trying to shift when there is too much pressure on the chain. It’s much more comfortable and safer to ascend a hill with a softer and lower gear.
Keep in mind that pedaling uphill you should downshift and pedaling downhill you should upshift. Therefore, as long as you can remember this simple rule, then you have the two main parts of a trail all figured out when it comes to what you should do with your gears.