Eventually if you ride the trails a lot you will get to the point where you are considering replacing your old mountain bike with a new one; however, sometimes you are just so in love with your old mountain bike that you hate the thought of riding anything else. If this is you, then the easiest solution is to do some upgrades on your old bike to make it feel new again.
Or, maybe you have been off of the trails for a while and you are looking into getting back into mountain biking but want to make some upgrades to your old bike. Either way there are some modifications that can be made for comfort, speed, and overall control.
Mountain biking is something that can be broken down into different sub-categories which are: cross country, trail riding, all mountain, downhill, free-ride, and dirt jumping. Which one of these you are more into is something that is very important for you to keep in mind when you are picking the new parts in order to make any sort of upgrade.
For example, a cross country mountain bike is not going to need the same modifications that a dirt jumping mountain bike is going to need. Your comfort is also something that you should think about, since what might be comfortable for one person might not be so comfortable for another person.
Mountain biking is quickly becoming the most popular recreational outdoor sporting activity. This being the case, there can be a bewildering amount of choices to make for each upgrade. Some of these upgrades on a mountain bike have the potential to get quite expensive while some upgrades can be cost effective depending on the rider, the terrain, and the budget that you have in mind.
1. Your Pedals
The first and most obvious upgrade that you can do on your mountain bike are the pedals. This upgrade is definitely one that should be based on a personal comfort, since there are two main types of pedals. Whether you prefer flats or clipless, the pedals can create a better grip and a better overall connection with your mountain bike.
Pedals can get chipped and worn, not offering as good of a grip for your feet over time or, in the case of clipless pedals, sometimes due to dirt and other things can become harder to clip into properly. Because of this, it can make a noticeable difference for you if you upgrade this part of your bike.
Flat pedals create a nice, large area of support for your feet and you can wear any style of shoes that you want to, though ones with thick soles are better since many of these do have spikes on them to grip your shoes. If you don’t like the spikes though, in many cases these are removable without much trouble at all.
Flat pedals come in a multiple variety of colors and shapes, making it easy to find what you want. Flat pedals are beneficial when coming to a halt on a steep incline, and flat pedals also make getting started again much simpler.
Clipless pedals are attached to the shoe so, depending on the rider, this may be a better option for rougher terrain where you might be jostled off of platform pedals. The shoes have specially designed cleats which have attachments to the actual pedal.
Clipless pedals are designed for the rider to go faster, since your foot is attached to the pedal the rider is able to utilize the down stroke and the upstroke of the pedal. Therefore, more overall power from the rider is going into the motion and creating a faster momentum and speed is increased.
Clipless pedals do cost a bit more due to the added cost of specialized shoes that have to be worn with these. These shoes are also not very comfortable to walk in most of the time, making them a poor choice for trails that might have any hike a bike sections, not to mention the potential problems of trying to clip in during muddy conditions.
The pro and cons depend on the rider. Clipless pedals require the added cost of cleat shoes designed for the pedals but give the rider the benefit of good grip no matter how tough the terrain maybe. The pros and cons of the flat pedal is that any shoe the rider may wear is sufficient and take off and is quick and easy when on loose gravel.
Installing A Pedal:
Installation of mountain bike flat pedals are generally pretty easy and straightforward, no matter which kind of pedal you are changing to. A wrench, grease, and your new pedals are all that is needed. First, grease the threads on both of the new pedals.
Using your wrench, remove the existing pedals from the bike and then thread the right pedal into the right crank and tighten with wrench. Repeat on the left side. It is usually best if you do this while your mountain bike is in a stand so that it is still and not moving around on you. At the end you can keep your old pedals as spares or get rid of them.
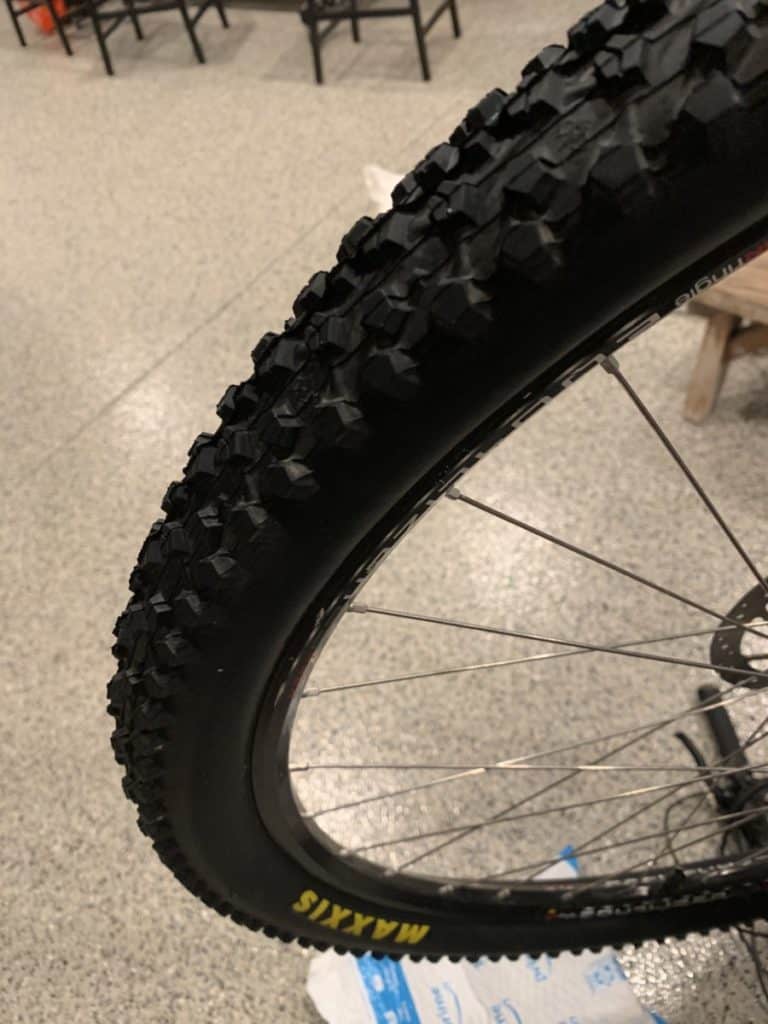
2. Your Tires
While you might not have thought of your tires as something that you can upgrade, if you have tubed tires then you should at least consider upgrading them to tubeless. However, even if you already have tubeless tires then there may be a way to upgrade even these.
There are many factors that play a part in the tire such as if the treads are flat and thin or thick with plenty of grip. Mountain bike tires also differ in width depending on their intended use. For example, for just trail riding the tire width will usually be between 2.25 and 2.4 inches wide.
Downhill tires which are meant for greater abuse and rougher terrain will be wider, with a width of up to 2.5 inches if not more. Fat bikes have the widest tires at up to 5 inches, and these tires are made for the most slippery terrains such as riding in the snow or mud.
Tires with better traction can help give you more confidence on the trail and this in turn can make it more fun. This type of tire will even give you more speed if the trail is slippery. However, these do weigh a little more, so if you don’t really need to the added grip then you can easily cut back on some weight by going with less traction.
While tires do not add that much weight, when you add up all the components of the mountain bike lighter tires can make a notable difference. The grams saved can help your speed and efficiency ever so slightly.
As mentioned, tubeless tires are also a great option. Going tubeless can mean fewer flats and, though it won’t stop all flats, the tubeless tire will cut down on the amount that you will get. A tubeless tire will also allow for lower tire pressure and means a less bumpy riding experience.
Besides widths, there are 4 basic types of mountain biking and tires depending on the type of riding that you like to do. Cross-country tires are going to have the thinnest and lightest tires while basic trail riding will have the next size up, and then downhill tires are going to have a thickest tire and better tread for added stability and grip which is vital in this area of mountain biking.
Not all tires are beneficial, but if you are sticking with tubed tires then you should go with puncture resistant ones. This type of tire can save a ton of headaches since it is reinforced with Kevlar, but it will add weight to the tires.
Installing New Tires:
Installing new tires may seem like a simple task, but if you have never had to do it before it is something that can be quite hard to do. There are several steps that are needed to correctly accomplish the task for safe riding.
In order to make the change you will need a pump, your new tire, something to measure your psi with, and you will possibly need tire levers. Once you have all of these tools handy, you are ready to begin. The first step is to get your old tire off, which you may want to do carefully if you intend on keeping it as a spare.
In order to do this, let as much of the air out as you can and then pry and pull it off, trying to not damage the bead. Next, if you are installing a tubed tire you will want to put just a little air in the new tube so that it won’t get pinched when you fill it up later.
Next you should try to put the new tire into position, trying not to use the levers here if you can help it since you do not want to damage the new tire. If you are putting on a tubed tire, put just one side into the rim as the tube will need to be fitted between the rim and tire before you put the other side in place.
Place the air valve into the tire and start to guide the tube in between the rim and the tire. Once that is done make sure the valve is straight and place the entire tire into the rim whether it is a tubed or tubeless.
Finally, use the pump in order to inflate the tire or tube, whichever the case may be. Make sure that you neither overinflate nor underinflate the tire by using the psi measuring tool. Now you are done, and you can ride your mountain bike.
3. The Handlebars & Stem
The next upgrade that can be made for better performance on your mountain bike is wider handlebars. Most mountain bikes are now coming with wider handlebars, and the benefit of this upgrade is added stability and greater control over the bike.
However, when you are going for different handlebars sometimes you may have to also replace the stem as well. This is something that is actually good to do every once in a while anyway, since crashing and jarring landings can eventually compromise the stem so that it might break even if you can see no signs of cracking on it.
These are two separate upgrades as you can upgrade one or the other, but they are closely related to each other and complement each other. The price for these can be quite difference based on the material of the handlebars.
Carbon fiber handlebar and aluminum are the two main different options, with aluminum being the more cost-effective choice and carbon fiber being lighter in weight. Aluminum parts are solid and you can be sure that these will last you a while, making them better for rougher things like downhill riding.
Installing The Handlebars & Stem:
This removal and installation is pretty straight forward. Removing the old stem and handlebars to install the new ones is the first step to this upgrade that you need to do before you can do anything else. The stem has two parts: the actual stem and the face plate that is attached with bolts.
First remove the bolts, then you can remove the stem and reattach the new stem. Generally the stem housing is un-threaded, but on much older mountain bikes it may be threaded and a pair of pliers may be needed. On an older mountain bike that has the threading on the stem use the pliers to basically screw the stem into place and continue to follow the rest of the steps.
The handlebars are similar, with face-plates holding the bars in place, but the handlebars are the where all the cables are at that affect the brakes, gears, and other things. All of these cables need to be taken off of the old handlebars and then re-attached exactly how they were before when the handlebars and the stem are fully installed.
4. The Seat & Dropper Seatpost
The next upgrade is the seat and the seat post, or, more specifically, a dropper seat post. Many mountain bike enthusiasts feel that this is one of the top upgrades. A dropper seat post is a bar under the seat that can adjusted for height and is something that you can actually use while you are still on your bike to adjust the height of your seat.
The dropper seat post can even be adjusted going uphill if you are willing to get a little practice at it. One thing to remember is that the dropper seat post is a moving part and as such it is something that can break, get stuck, or slip due to a tough or jarring landing at the end of a jump.
The benefits of a mechanical vs the hydraulic dropper seatpost is the easier setup, but the cheaper dropper seat post will be heavier. As for the seat, adding a mountain bike seat will save in the long run and can add comfort based on what you are looking for.
Mountain bike seats are either called a seat or, more often, called a saddle. Everyone is shaped differently so one saddle might not be right for two different people. Saddles can be affordable depending on what the rider is looking for, but they come in a wide range of sizes and shapes with different amounts of padding too.
Comfort is important especially if you tend to spend a great deal of time on this saddle. Size is more of a matter of personal preference, with smaller seats of course being lighter in weight while bigger seats can often be more comfortable.
Installing The Saddle & Dropper Seatpost:
Saddles are designed for quick removal and installation, so that part is easy enough to do. Before you get to work the first thing that you should do is to stabilize your bike by putting it in a stand or something.
Reach under the saddle and un-clamp the saddle, which will loosen the saddle so that you can remove it. Once the saddle is removed, take out the seatpost. Like the handlebar stem, the seatpost can be attached a couple of different ways.
Attach the new seatpost by dropping it into position and attaching the cable, then put the new saddle on the seatpost. You will very likely have to ride around a little in order to adjust it to just the right height for you, but that is the basic steps.
5. Grips
The next very important upgrade is the grips on the handlebars. Your body has 3 solid connections to the mountain bike and these are the pedals, the seat, and the handlebar grips. Good grips will help save your hands from sores and blisters, especially for long extended rides on rough terrain.
There are a number of different types of grips that you can choose from to help cushion your hands. You will naturally want more cushion and grip on the downhill, bumpy terrains. Poor grips can not only lead to sores on your hands and fatigue in your arms, but they can also affect you muscles in your neck and shoulders.
Grips generally are made from 3 substances which are: rubber, foam, or silicone. They either slide into place or are made to lock-on in which case they are bolted into place and never slip or move, but the lock-on does add extra weight and these sometimes do not absorb shocks as well.
Installing The Grips:
Installing grips on the handlebars of your mountain bike seems like a super simple task, but remember that these grips are made to fit tight to the handlebars without coming off, so a lubrication of some kind is often needed to help get them off. The lubrication can be hairspray, WD-40, or soap.
Lubricate the handlebars with your choice and get the old grips off, using something to help you pry if needed. Depending on the material they are made out of, this can affect how long it will take to get them off and the new ones into place.
Make sure not to over lubricate or the new hand grips could slide back off. This could cause a safety issue as well since riders need full attention on their ride and any distraction even for a split second can cause an accident. So make sure that you use as little as possible and that you try to clean them off a little before you put your new ones on.
6. The Suspension
The next upgrade is possibly one of the most complicated components of the entire mountain bike: the suspension. Every time the bike is moving the suspension is at work so maintenance, tuning, and a potential upgrade will often be a benefit.
When a suspension is added to a bike in the factory an average rider is what they have in mind, so if you are an aggressive rider or you do a lot of downhill riding then an upgrade might be needed. Upgrading or tuning your suspension can save the cost of replacing a fork or a shock which can be pretty expensive.
Installing The Suspension:
Your local bike shop can do this upgrade for you if you are not comfortable with doing this upgrade yourself, but if you are mechanically inclined and know what you are doing then you might be able to do it yourself.
Replacing the fork is a matter of removing all the lower end of the mountain bikes parts, especially the wheels, the chain, and often even the housing for the pedals, so this replacement is not for the beginner mountain biker.
7. Your Brakes
There are all kinds of brakes to choose from for your mountain bike. There are disk brakes, rim brakes, brakes that are mechanical, ones that are hydraulic, brakes that are for the front wheel only, back wheel only, or brakes setups that can have brakes on both wheels.
If you are doing downhill mountain biking, then you will want brakes on both wheels, or if you are trying to cut down on weight then maybe just brakes in the back. This is because if only your front tire stops when the front of the bike is already lower than the back then you risk flipping yourself which could be really dangerous.
Brakes are an obviously an important aspect to a mountain bike, so upgrades here are something that is very nice to have. Look at your style of mountain biking in order to tell what type of brakes that you need to go with as your upgrade.
Installing The Brakes:
Since there are so many different kinds of brakes that you can go with, there are an equal number of different ways that these brakes can be installed. However, there are a few things that will stay the same from one kind to the next.
Most of the time using a stand will not work for the whole process, and it is often better to place your bike upside down on the saddle. You will have to remove the brakes you have first, taking a picture of it first might be helpful if your upgrade is in any way similar to what you have.
Conclusion
If you do all 7 of these upgrades then your bike should feel almost brand new. However, if your mountain bike has a damaged frame then you should not ride it, much less spend money on making upgrades on it. This is because anything that compromises the frame can cause some serious problems which could end up with you getting badly hurt.
Mountain biking is a great hobby that is really healthy for you to do, especially during the winter when it is hard to get the right amount of sun that you need. The outdoor air and the physical activity is beneficial to the brain as well as the lungs. Exercise release serotonin in the brain that psychologically are necessary for contentment and added happiness.
Whether this is a sport, a leisure activity or therapeutic endeavor you can’t go wrong with the health benefits that are achieved with either a cross country ride or an aggressive downhill trek to release the endorphin’s in the body.
However, you should try to stay as safe as you can while you are on the trails. Making these upgrades is something that can actually help you to stay safe for various reasons. If some part of your bike has a crack or big dent in it then you should probably go with replacing it, and if that happened very soon after you got that new part then you obviously need to go with something that is more durable so that it will last you longer.