When you first start mountain biking you are possibly going to be overwhelmed with all of the different bike upgrades, apparel options, and gear that there is to buy. It can be very hard at times in order to know what you actually need and what you can put off getting until later on down the road.
The obvious first step would be to buy a mountain bike since there is no way that you can ride on the trails without a bike of some kind. While you can use a road bike in a push, there are a lot of disadvantages to doing so and you will not get nearly the same ride on the trails that you are looking for.
But there are several other things that you will need too. Here are 10 must have items for a beginner mountain biker. Make sure you at least have these items before you take that ride, even if they are second hand, and you can work up to the other stuff later on.
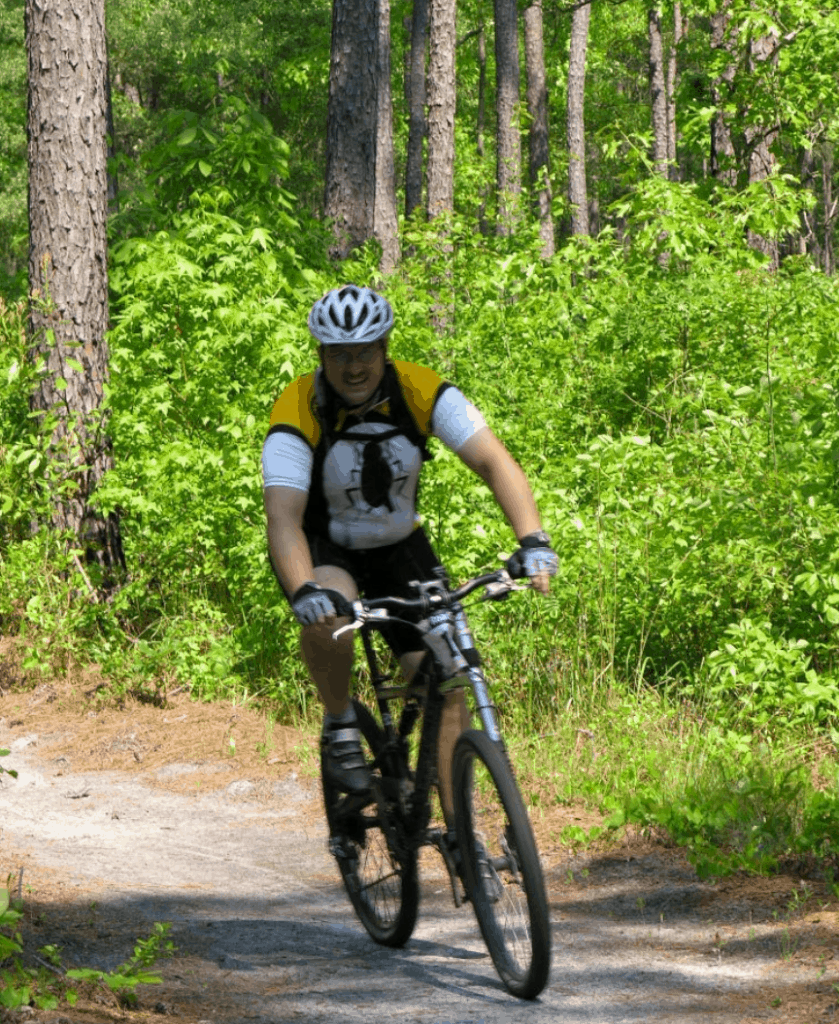
1. Helmet
Safety first! This is perhaps the most important thing that you should get, which is why it is on the top of the list. When you are first learning how to do the various things on a trail then a helmet is particularly important because you will undoubtably fall off of your bike at least once or twice.
Although not all states or countries require helmets, and even when they do it is mostly for road users, it is still a really important item to have, especially for a first-time mountain biker. Many injuries can happen on the trails and protecting your head from one is very important.
There are five types of mountain bike helmets available to choose from, each offering their own advantages to accommodate your unique riding style. Each helmet also has a specific intended use, so it is important for you to do your research when looking for your helmet. Consider what type of rider you are going to be and what type of trails you will be taking your bike out on.
For cross country and less aggressive trail riding, a half-shell MTB helmet should suit you just fine. If you are more interested in a more aggressive ride in tougher terrain, you might want to consider either an open face Enduro MTB helmet or the full face Enduro helmet.
The full face Enduro is mostly recommended if you plan on doing a lot of downhill biking. There is also a convertible Enduro helmet which you can switch from half face to full face when you enter a trail with several types of terrain.
2. Hydration System
A hydration system is important for a beginner mountain biker especially if you plan on hitting some of the longer trails or even the multi-day ones. Biking is exercise and when you exercise you need to stay hydrated. Aside from the obvious, you cannot perform at your best when you are dehydrated.
If you have ever been dehydrated you know the feeling, headache, nausea, maybe even muscle cramps. Add that to being on an MTB under the heat of the sun and you are not going to have a good time, especially if you are riding in the desert terrain.
Hydration systems can be something as simple as a water bottle that sits in a clip attached to your bike. There are also packs that you wear like a backpack that hold several liters of water and have other pockets for other things you may need. In the hydration pack world, you have plenty of options which range in style, color, price, and size.
When you are choosing a hydration pack you should keep in mind the amount of time you will be on the trail. You should be drinking at least 7-10 ounces of water every 10 to 20 minutes, so your hydration pack should hold somewhere around 2.5 liters or more.
Keep this in mind if you plan on taking longer rides, hydration is very important especially if you are riding alone so plan accordingly. Also, you want to make sure that you have extra water in case you get a flat or something and are longer on the trail. If you get in a minor crash on your mountain bike you will also need some water in order to wash off your scrapes.
The bladder, area that holds the water, should be made of a high-quality material equipped with an antibacterial, antimicrobial technology that will prevent odor and mold, something like Thermoplastic Polyurethane/TPU. The outer body should be durable so that it stands up to the beatings you’ll be putting it through on the trails, the best materials for this are synthetic ones like polyester or nylon.
3. Bike Lights
Being prepared while out on the trails is always a good idea and even if you don’t plan on being out past dark, you never know what could happen. You should definitely have bike lights. Keep in mind that you might be venturing off on trails that you have never been to before and time might get away from you do to either not correctly calculating the amount of time that the trail will take you or to having a crash or flat that holds you up for a while.
When purchasing bike lights you will need to consider what type of terrain you’ll be riding on and in what types of weather. You should at least consider having lights in the front and rear of your MTB, and you should consider having a light for your helmet as well as one for your handlebars for the best amount of sight possible.
4. Bike Rack
Transporting your mountain bike will be so much easier if you have a bike rack to assist you. Depending on where you live, the nearest mountain biking trails could be a short or long distance away from you, but either way having a bike rack will make your life a lot easier.
The bike rack that you choose will of course depend some on the size of your vehicle. There are three typical styles of racks that you can purchase: vertical hang receiver hitch mount, receiver mount hitch platform, and rooftop. The most popular choice for the protection and security of your MTB is the receiver hitch mount. This is also said to be the most aerodynamic of the three.
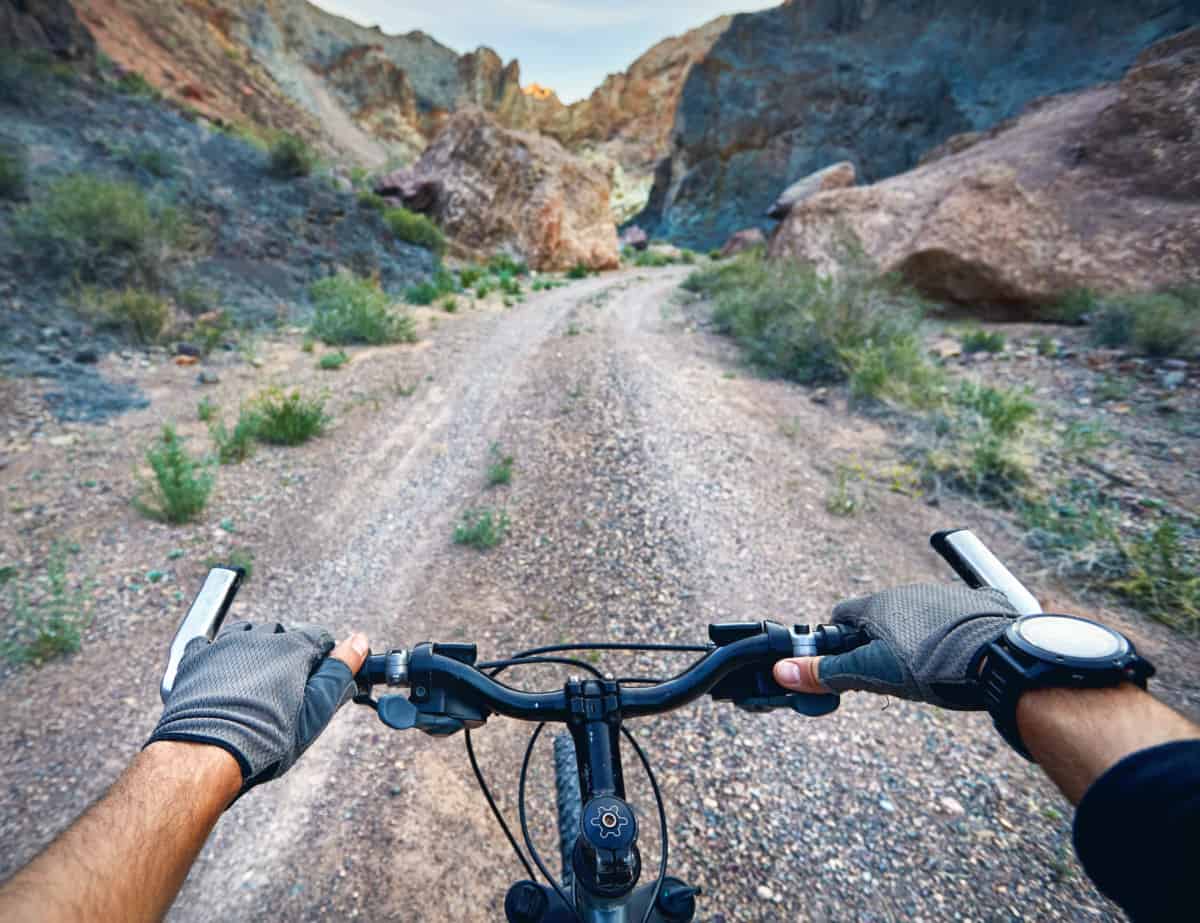
5. Riding Gloves
Riding gloves are an essential piece of equipment when out on the trail. They provide the grip and protection that your hands need when you are hopping down trails with boulders and they help you to maintain control of the handlebars.
Your hands need to be an extension of the handlebars for the best possible control of your MTB at all times. Not only is this good for safety but also for performance out on the trail. Depending on the situation, your hands will be warm, protected if you crash, your gloves will reduce your chance of blisters, and absorb shocks and bumps.
There are four basic types of riding gloves for mountain bikers: mittens or pogies, half finger, full finger, and three-finger. Half finger gloves are best used when riding short trails or in warmer weather since they are usually made of leather, they are lightweight, let your fingers breathe, and absorb sweat.
Full finger gloves are better if you are a more aggressive rider, some of these are designed with extra padding and often come in a mix of leather and other materials for you to use them in all weather conditions.
Three finger gloves group together the ring finger and pinky, the forefinger and the middle finger, and leave the thumb alone in its own spot. These gloves are best for those cooler weather rides.
Mittens or Pogies attach directly to your handlebars and cover the brake controls and shifters so that you can fully control your MTB and these are generally waterproof. Whichever glove type you decide on you might consider using ones with some extra padding to protect your hand from soreness.
6. Protective Glasses Or Goggles
Protecting your eyes is definitely an important part of mountain biking. You will be cruising down mountain trails sometimes as fast as 37mph with things like mud, pebbles, and tree branches, flying at your face – not to mention the sun may or may not be shining down directly in your eyes while you are trying to see that rough patch ahead of you.
If you already wear prescription glasses, there are protective goggles that fit over your glasses. While glasses are perfect if you are going to be riding during sunny weather, if you are going to be riding in the rain or in really muddy conditions then you should go with goggles.
Either option is really easy to find and almost any bike shop or outdoor lifestyle store has a variety to choose from. The most important things to consider when searching for your protective glasses are that they have anti-fog, are designed to keep debris out, will be able to maintain a high quality view in sunny conditions, and if they will work with your helmet.
7. Pump & Tube
A handheld pump and extra tube or tubes are vital things to have with you whether you are a beginner or seasoned mountain biker. If you are on a trail and you get a flat for any reason, you don’t want to have to carry or push your bike all the way back to the car. These items are things that you can fit into your hydration pack should you purchase one with extra pockets.
Make sure you get a pump that can accommodate pumping a tube without overexerting yourself but is small enough in size that it fits inside your hydration pack. You should also make sure that it works with both Presta and Schrader valves. Most handheld pumps allow you to also check the air pressure in your tires. You may even be able to find a handheld pump that can attach to your bike frame.
When it comes to finding the right pump there are several options to choose from. Some are standard air pumps that you will have to manually pump somehow with either your hand or foot. Others use a cannister and it inflates the tire using CO2, once used the cannister needs to be replaced which can become a costly but is easier.
You should always have at least one extra tube with you, but it is best to have two. The great thing about tubes is that they fold very nicely when not inflated. One very important thing to know is to make sure that you have the correct size tubes for your tire size.
8. Repair Stand
You will use a repair stand for any type of bike maintenance, this secures the bike while you remove wheels, check brake pads, change grips, and do pretty much anything with your bike. Not only does a repair stand protect the bike, but it also protects you from your bike falling over on you.
There are two styles of repair stands, the most common uses a clamping apparatus that clamps on to whichever part of the bike you choose to secure it. The other is referred to as a race stand or Euro-style. The race stand attaches to the bottom bracket and front or rear dropout to secure the bike.
9. Padded Riding Shorts
Like with most of the gear you wear when you are out on the trail, padding riding shorts also have their purpose. Riding shorts reduce pressure points, prevent chafing, disperse road vibration, and decrease the amount of saddle soreness.
MTB shorts are baggy, resistant to abrasions on the outside, and look like shorts you might wear on a regular day. Most designs are made of sturdy fabrics and have a lot of pockets with zippers to keep your valuables inside but where they will not get into the way or fall out while you are pedaling.
Deciding which shorts to choose depends on the type of riding you plan on participating in. Each style offers unique performance features for different types of terrain and riding styles. This goes for fabric as well, since if you will be doing more cross country riding you will want to look for a less restrictive, lightweight pair of riding shorts.
On the other hand, if you are going to be doing a lot of downhill biking you will need something very durable, with a little longer length than a typical pair of riding shorts, and something that offers protection for your legs.
Another option is a chamois, a piece of padding that sits where your body and the saddle meet. You wear them like shorts, but it is extremely important to make sure the chamois sits correctly.
10. Fix Kit & First Aid Kit
Last, but definitely not least, you will need a fix kit and a first aid kit, or a kit that is both of those combined. The contents of a fix kit are essential for any rider to make repairs on the trail to avoid long walks back to the trailhead.
Your repair kit is usually a small bag that is attached to the frame at the front or the rear of your mountain bike, or even under the seat. Your kit should be made of a durable material like polyester or nylon.
You can purchase one that has items in it or build your own. If you purchase a premade one, you might still need to add things to it. It should be said that this repair kit contains everything and anything you may need while out on a ride. If you are putting your own together then you will need each of the items that should go in it including the extra tube and the air pump.
Patch Kit
In addition to your extra tubes, you should always have a patch kit readily available. This will help patch up small holes in the event you should get a puncture flat while you are out on the trail. Patch kits are small and come either pre-glued or with a sealant you must use. Patch kits that use a sealant tend to last longer but take more time to apply.
Bike Chain
Sometimes a bike chain can either get too stretched out to stay on the bike as it should, or it can simply break. A spare chain is easy to get and will not take up much room in your kit. Just make sure that you already have it the right size for your bike before you pack it in your kit.
Derailleur Hanger
Having an extra derailleur hanger could save you in repairs and money in the long run. The derailleur hanger is a bracket that connects the derailleur to the bike frame, this hanger allows for easy repair without destruction or disturbance to the derailleur system and/or frame. The most common fix while out on the trail is a broken derailleur hanger.
Multi-tool
This is perhaps one of the most useful pieces in your repair kit, it looks somewhat like a remixed Swiss Army Knife and has almost every tool that you will need in order to make on the trail repairs. Most come with several sizes of Hex/Allen Wrenches, screwdrivers, pliers, spoke tools, and a chain tool.
As you may have guessed, these multi-tools come with a variety of options. You can choose to opt for the more basic line of tools or go all out and get any tool you might need at any time during any ride.
Tire Levers
Sometimes, if you are lucky you can remove a tire and tube from a rim with your hands. However, it does take some force so you might not want to try this out on the trail where you could hurt yourself trying.
Tire levers are designed to assist with the removal of the tire from the rim with a little more ease. They are small and you only need two. They come in different colors and have a couple of different ways of attaching to the spokes so that you can store them there instead of remembering to pack them.
Shock Pump
A shock pump differs from a pump for your tires, this pump is designed to adjust the air pressure inside your suspensions. You only need a shock pump if you have air spring suspension, but this pump is a great thing to have if you need to fine-tune your suspension or in the event that you get a slow leak.
Chainring Bolt
With all the hopping and riding, you may lose a bolt or two if you did not tighten these properly. Sometimes even if you did these can be jostled out of place by really bumpy trails. You might even lose one if you have to make a repair on the fly and you did not do a good job.
Chainring bolts are what holds the chainrings to the frame, without these the chain wouldn’t be connected to your MTB. For this reason, it is a very good idea to a few extras in your repair kit. Chainring bolts come in a variety of colors too, so you can even use these to customize the look of your bike.
Spare Spoke
Even though most modern mountain bikes are designed to still perform like they are supposed to with a spoke missing, it is a good idea to have an extra one in the event that you need to repair it. Spokes can get bent during a crash or a landing that was a little too hard.
You can use the spoke to clear debris our of hard to reach spaces on your mountain bike if you do not need it as a spare, or you can use the bent one that you replaced for this.
Energy Bar
You can be out on the trails for hours at a time and in addition to staying hydrated you must also keep your energy levels up. Having at least an energy bar in your kit is an absolute must, especially if your blood sugar tends to get low after a while. If you don’t eat them often be sure to replace expired ones before going on a long ride.
Emergency Money
You don’t need a large amount, and you will want to stash it somewhere it cannot easily be seen. If you are in a jam and need some quick cash you will know you can always look in your kit.
Packable Rain Jacket
Depending on where and when you are going to be riding you may or may not need a packable rain jacket. The weather can change fairly quickly and a packable rain jackets fold up very nicely and can often fit in a small pouch. They come in different levels of durability and colors, one thing is for sure, they will help keep you dry.
Lip Balm And Sunscreen
While riding you will be in the sun, wind, and other elements, so protecting your skin is just as important as protecting your muscles and bones. These items are important because you spend prolonged periods of time exposed to the sun. In addition, if you happen to become a bit dehydrated your lips may become dry.
First Aid Kit
There is going to be a time when you crash, get hit by a low hanging tree branch, or scrape yourself against a boulder. Whatever the injury, you should be prepared. You can create your own first aid kit or purchase a ready-made one.
For a beginner mountain biker you should make your own or purchase a crash kit from a bike shop so that you know that it is specifically for the injuries that mountain bikers tend to get. With your first aid kit, it is also a very good idea to have a basic understanding of first aid and you might want to consider getting CPR certified.
If you make your own, include disinfecting wipes, gauze, tweezers, bandages, non-drowsy pain reliever, triple antibiotic ointment, gloves, a whistle to signal for help in an emergency, emergency contact information for any critical conditions, Benadryl or Diphenhydramine for severe allergies, and a bandana or other cloth to clean up any messes.
Zip Ties
Zip ties can easily be used for a multitude of MTB repairs if you are ever in a pinch. They are inexpensive and you only need to keep about a handful in your repair kit. You can keep them together in your kit with a rubber band so that there aren’t a bunch of zip ties just rattling around while you riding on your bike.
Duct Tape
Not only can duct tape be used for quick repairs, but it can also be used alongside your first aid kit. It can be used to hold gauze in place or to make a temporary splint if you get creative. Duct tape is also fairly inexpensive and can be purchased almost anywhere.